Last Updated on June 27, 2021 by Cory Kawa
When I first started riding gravel and writing last year, my iPhone was my camera of choice, and no matter how hard I tried, my pictures never turned out the way I wanted. Then after speaking with Mike Chajecki of @gravelroadcanada, I discovered the missing element, the compression that only a zoom camera can bring.
Fyi, this is not a paid write-up, no discounts were given, and no business relationship exists. I am writing this simply because I wish more detailed independent reviews existed when I conducted my search.
iPhone 11 vs a Zoom Lens
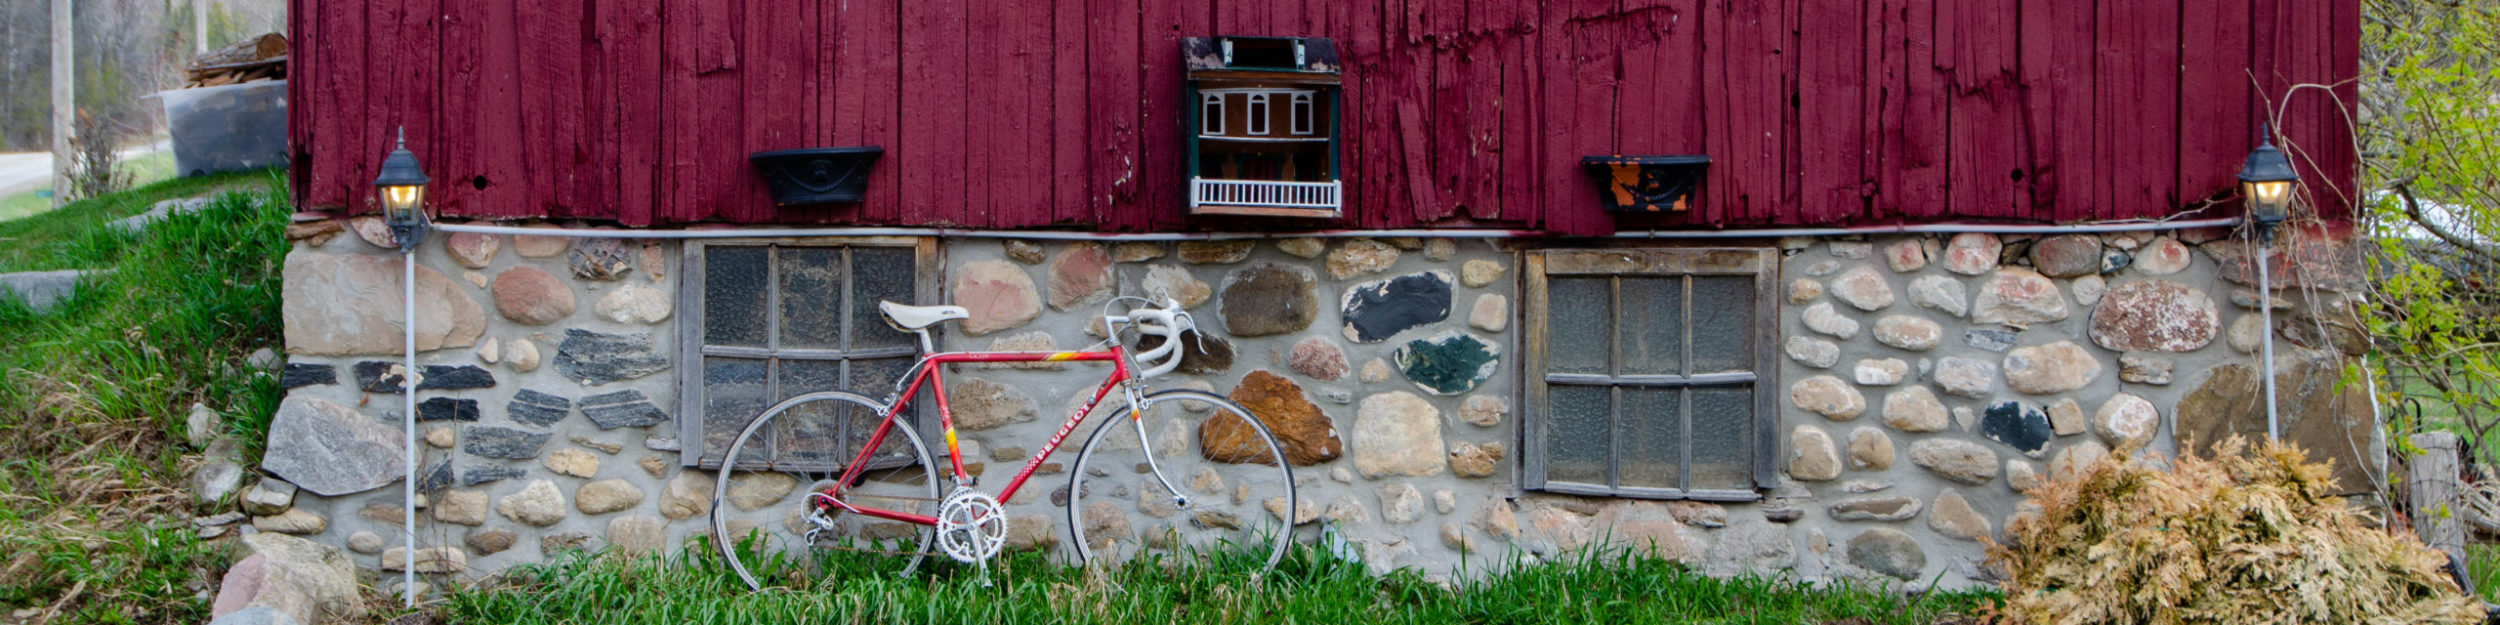
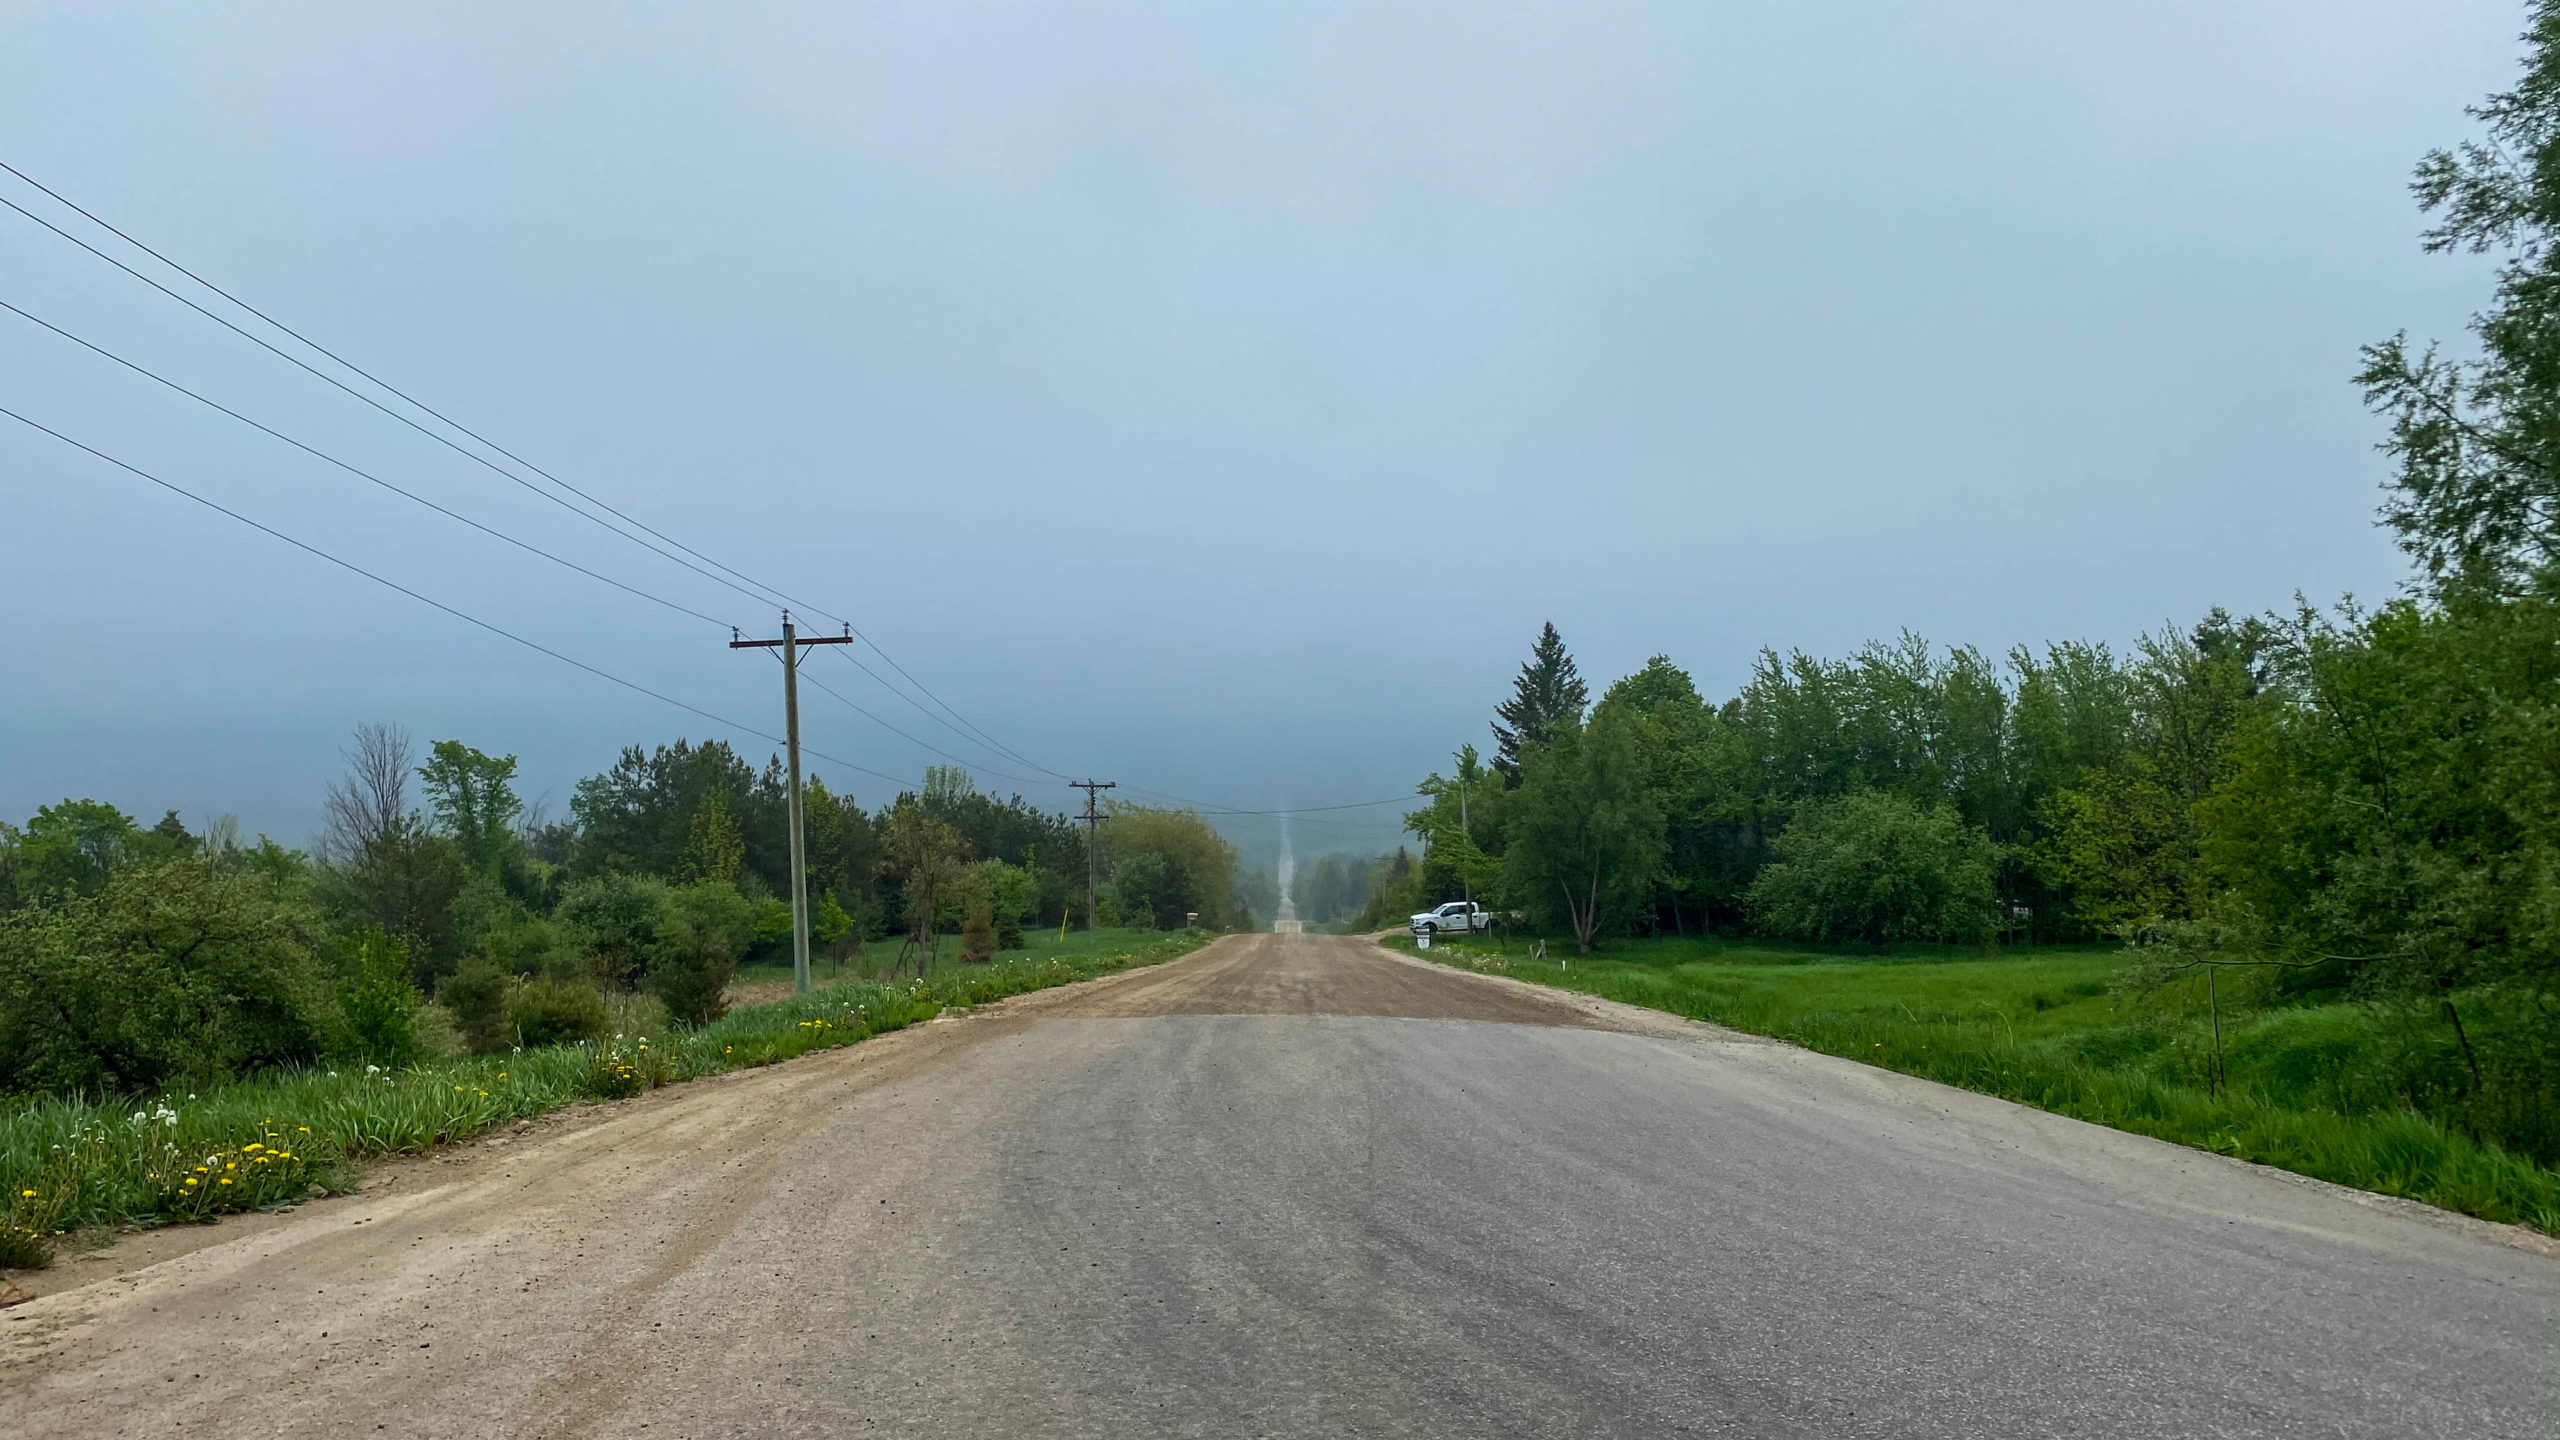
The two photos below were both taken from just north of Terra Nova, looking down a massive hill, the first with my iPhone 11, the second with my Nikon d5100 with attached 18-200 zoom lens.
Both of these shots were taken while riding various loops of Tiago’s The Motherload.
This first shot while riding Loop 2 of Tiago’s The Motherload, starting in Creemore to a bit west of Devil’s Glen and back.
The second while riding Loop 1 of The Motherload, starting in Mono, ultimately hitting the apex just north of this massive climb north of Terra Nova, and back.
Both loops were great days of mixed terrain, challenging riding, that I’d highly recommend.

As you easily see above, the added compression really draws you into the picture, capturing the feeling I felt after climbing this massive 200m hill and doing justice to the memories I had that day.
Why a Front Handlebar Bag?
Of course, where the iPhone fits in many places, the big bukly DSLR with the zoom lens attached does not.
Mike was kind enough to lend me his front handlebar bag while we rode the Durham Destroyer – The Rookie, and it worked well, so well that I immediately went on the hunt, ultimately deciding on the Arkel – Handlebar Bag Large.
Why Arkel?
Choosing Arkel was an easy decision, simply because I couldn’t find many options for high-quality camera-friendly bags that didn’t need to attach to a front or rear pannier rack.
A few points that added additional comfort to choosing Arkel included:
- Arkel’s a Canadian who produces most of their bags at their HQ in Quebec.
- They do one thing and do it well, bike bags.
- They are highly recommended on the various Facebook groups I follow.
Pros and Cons of the Arkel’s Front Handlebar Bag Large
Likes:
- Large enough to hold my camera plus additional lenses or other odds and ends.
- The main compartment is highly water-resistant while also offering an optional cover for added protection.
- The bag is hard-sided, offering good camera protection.
- Zippered front allowing for easy access while also reducing the risk of spills if the bike falls over.
- The high-quality mounting system allows me to easily remove it from the bike or transfer it between bikes with the purchase of additional mounting hardware.
- It sits far enough out front that I can still place my tent under my handlebars when required.
Dislikes:
- It sits high on the handlebar preventing me from mounting my front lights.
Ordering and First Impressions
I placed the order via their website Sunday, April 4. It shipped via Canada Post Tuesday, April 6, arriving Friday, April 9.
The only issue was that one of the mounting screws would not screw in. Arkel fixed this by promptly shipping me a replacement piece arriving just a few days later.
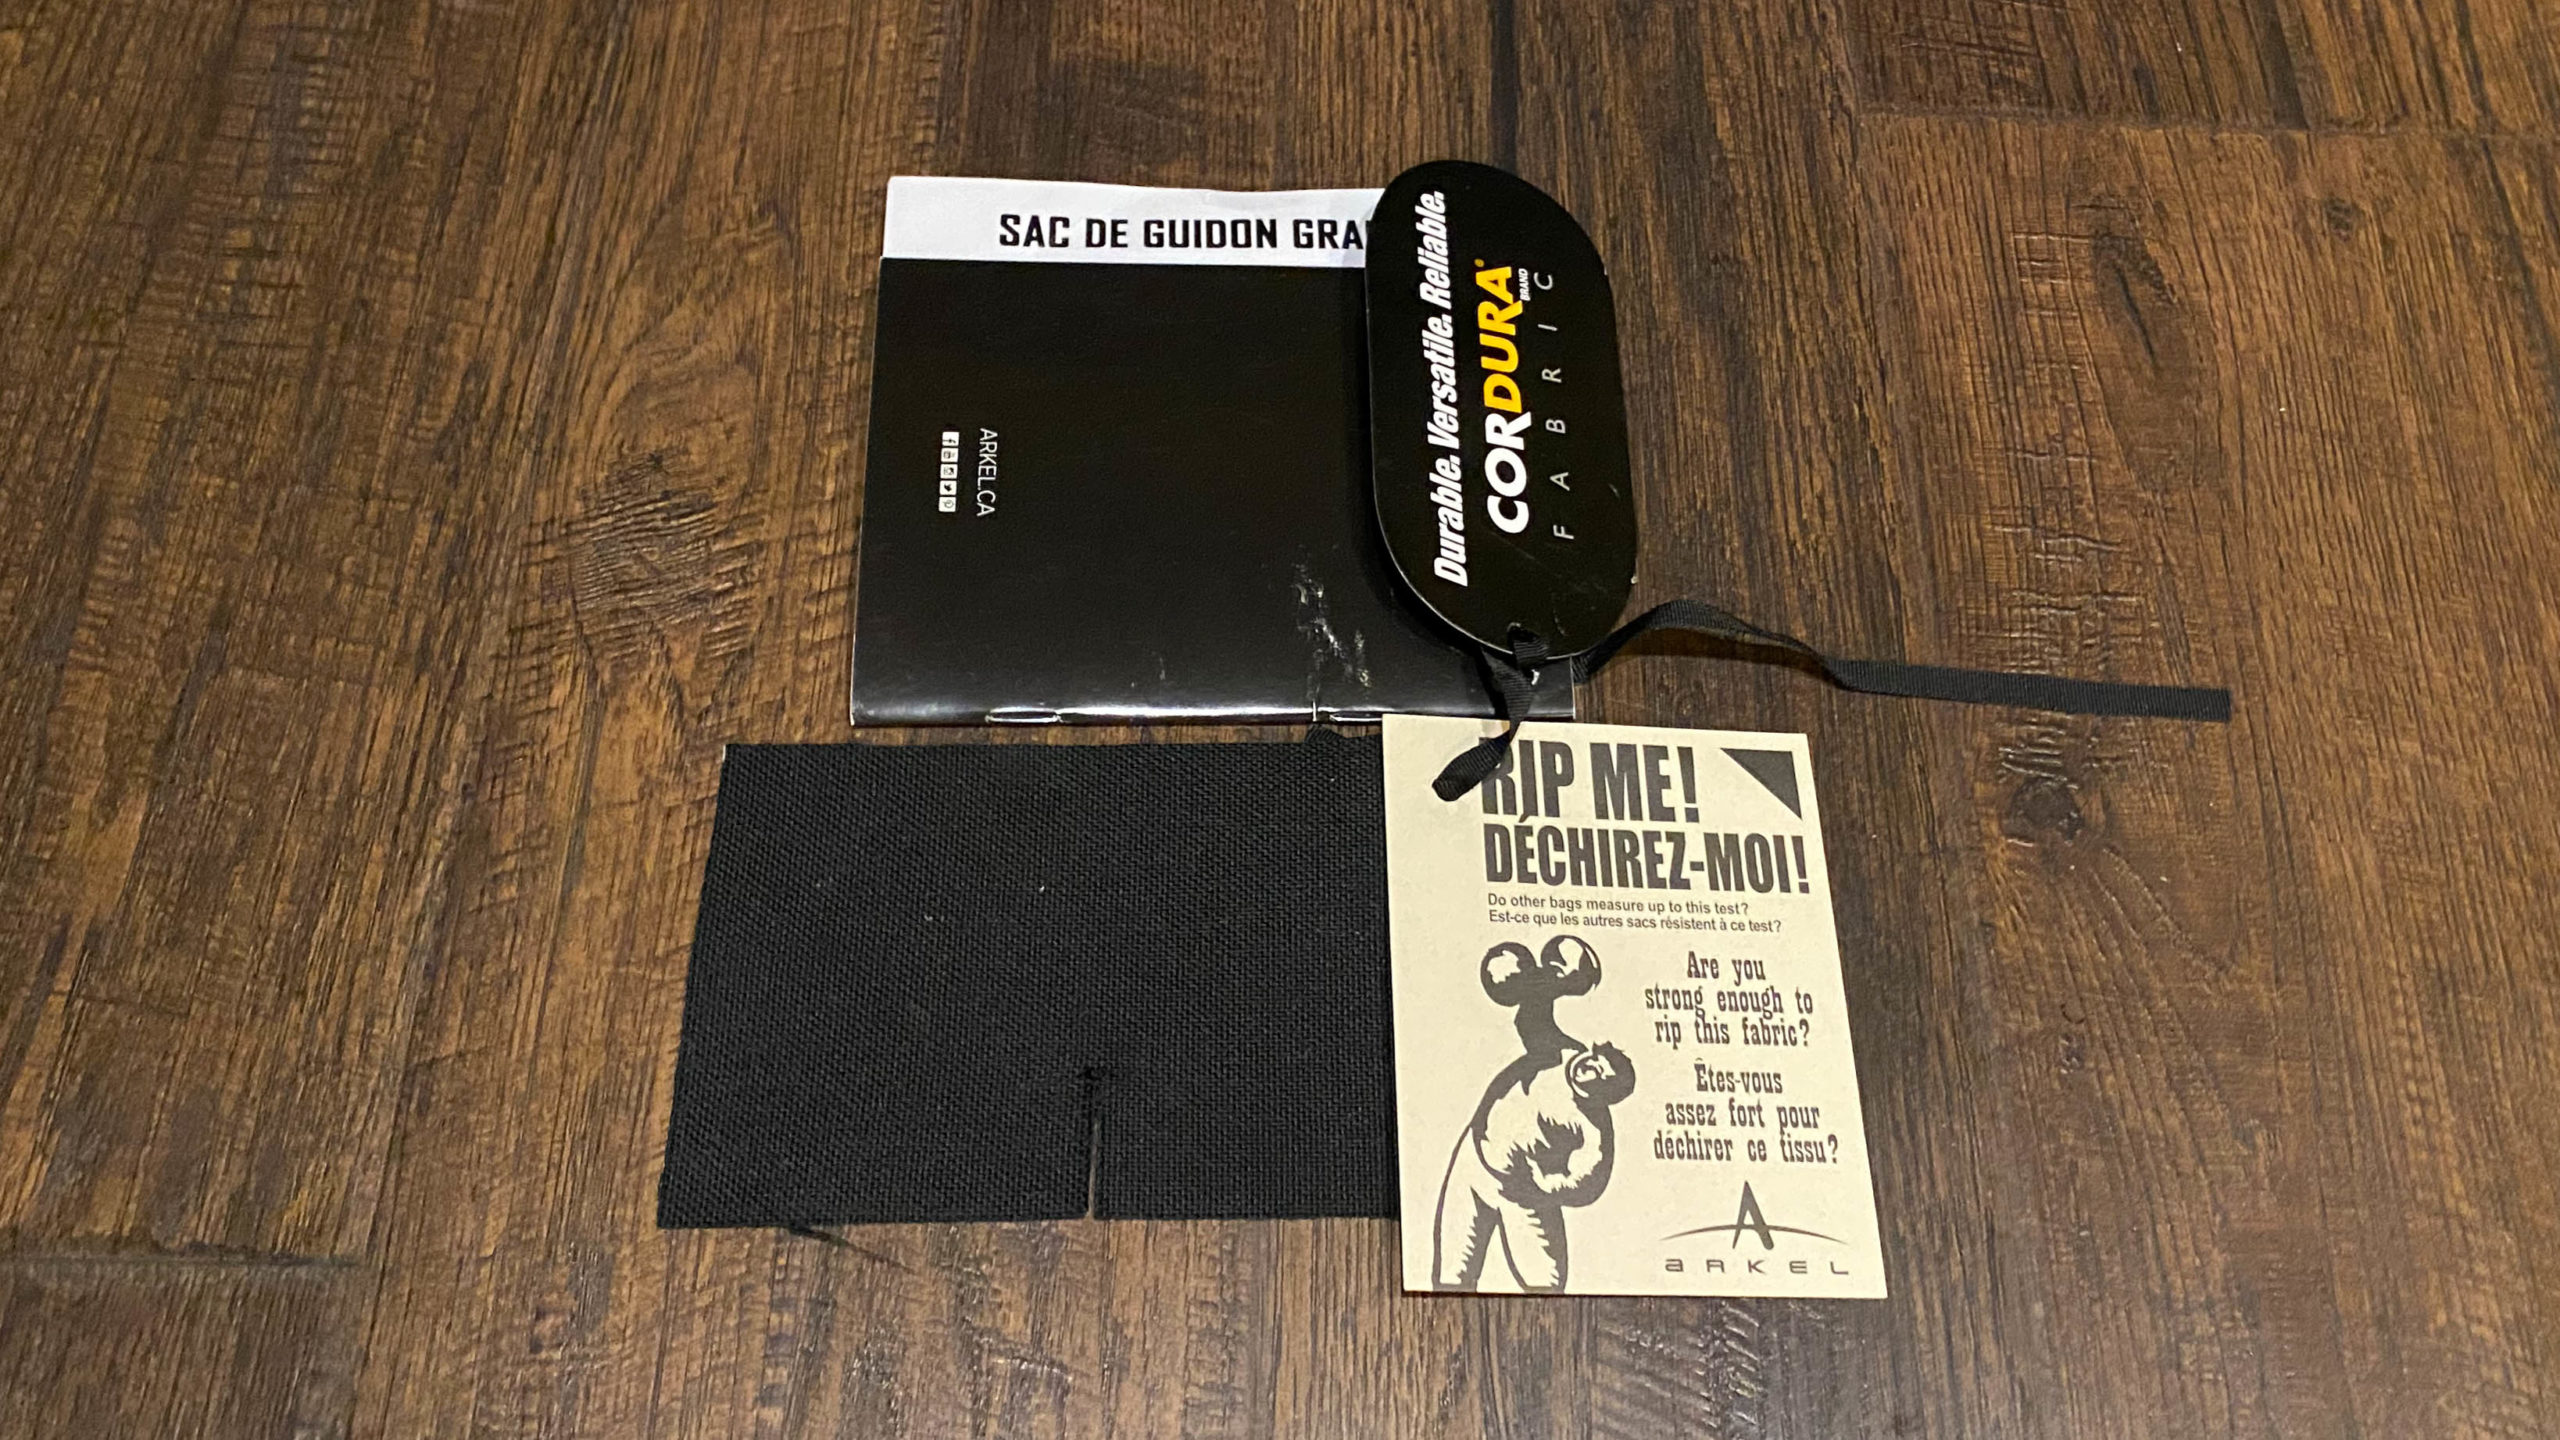
The bag itself is made out of high-quality Cordura with YKK zippers. I’m not sure exactly what YKK Zippers are, but I can say they appear to be exceptionally high-quality.
Included in the package was a piece of the material taunting me to give ripping it my best try. I’m no muscle man, but I’m no weakling either, and it’s impossible.
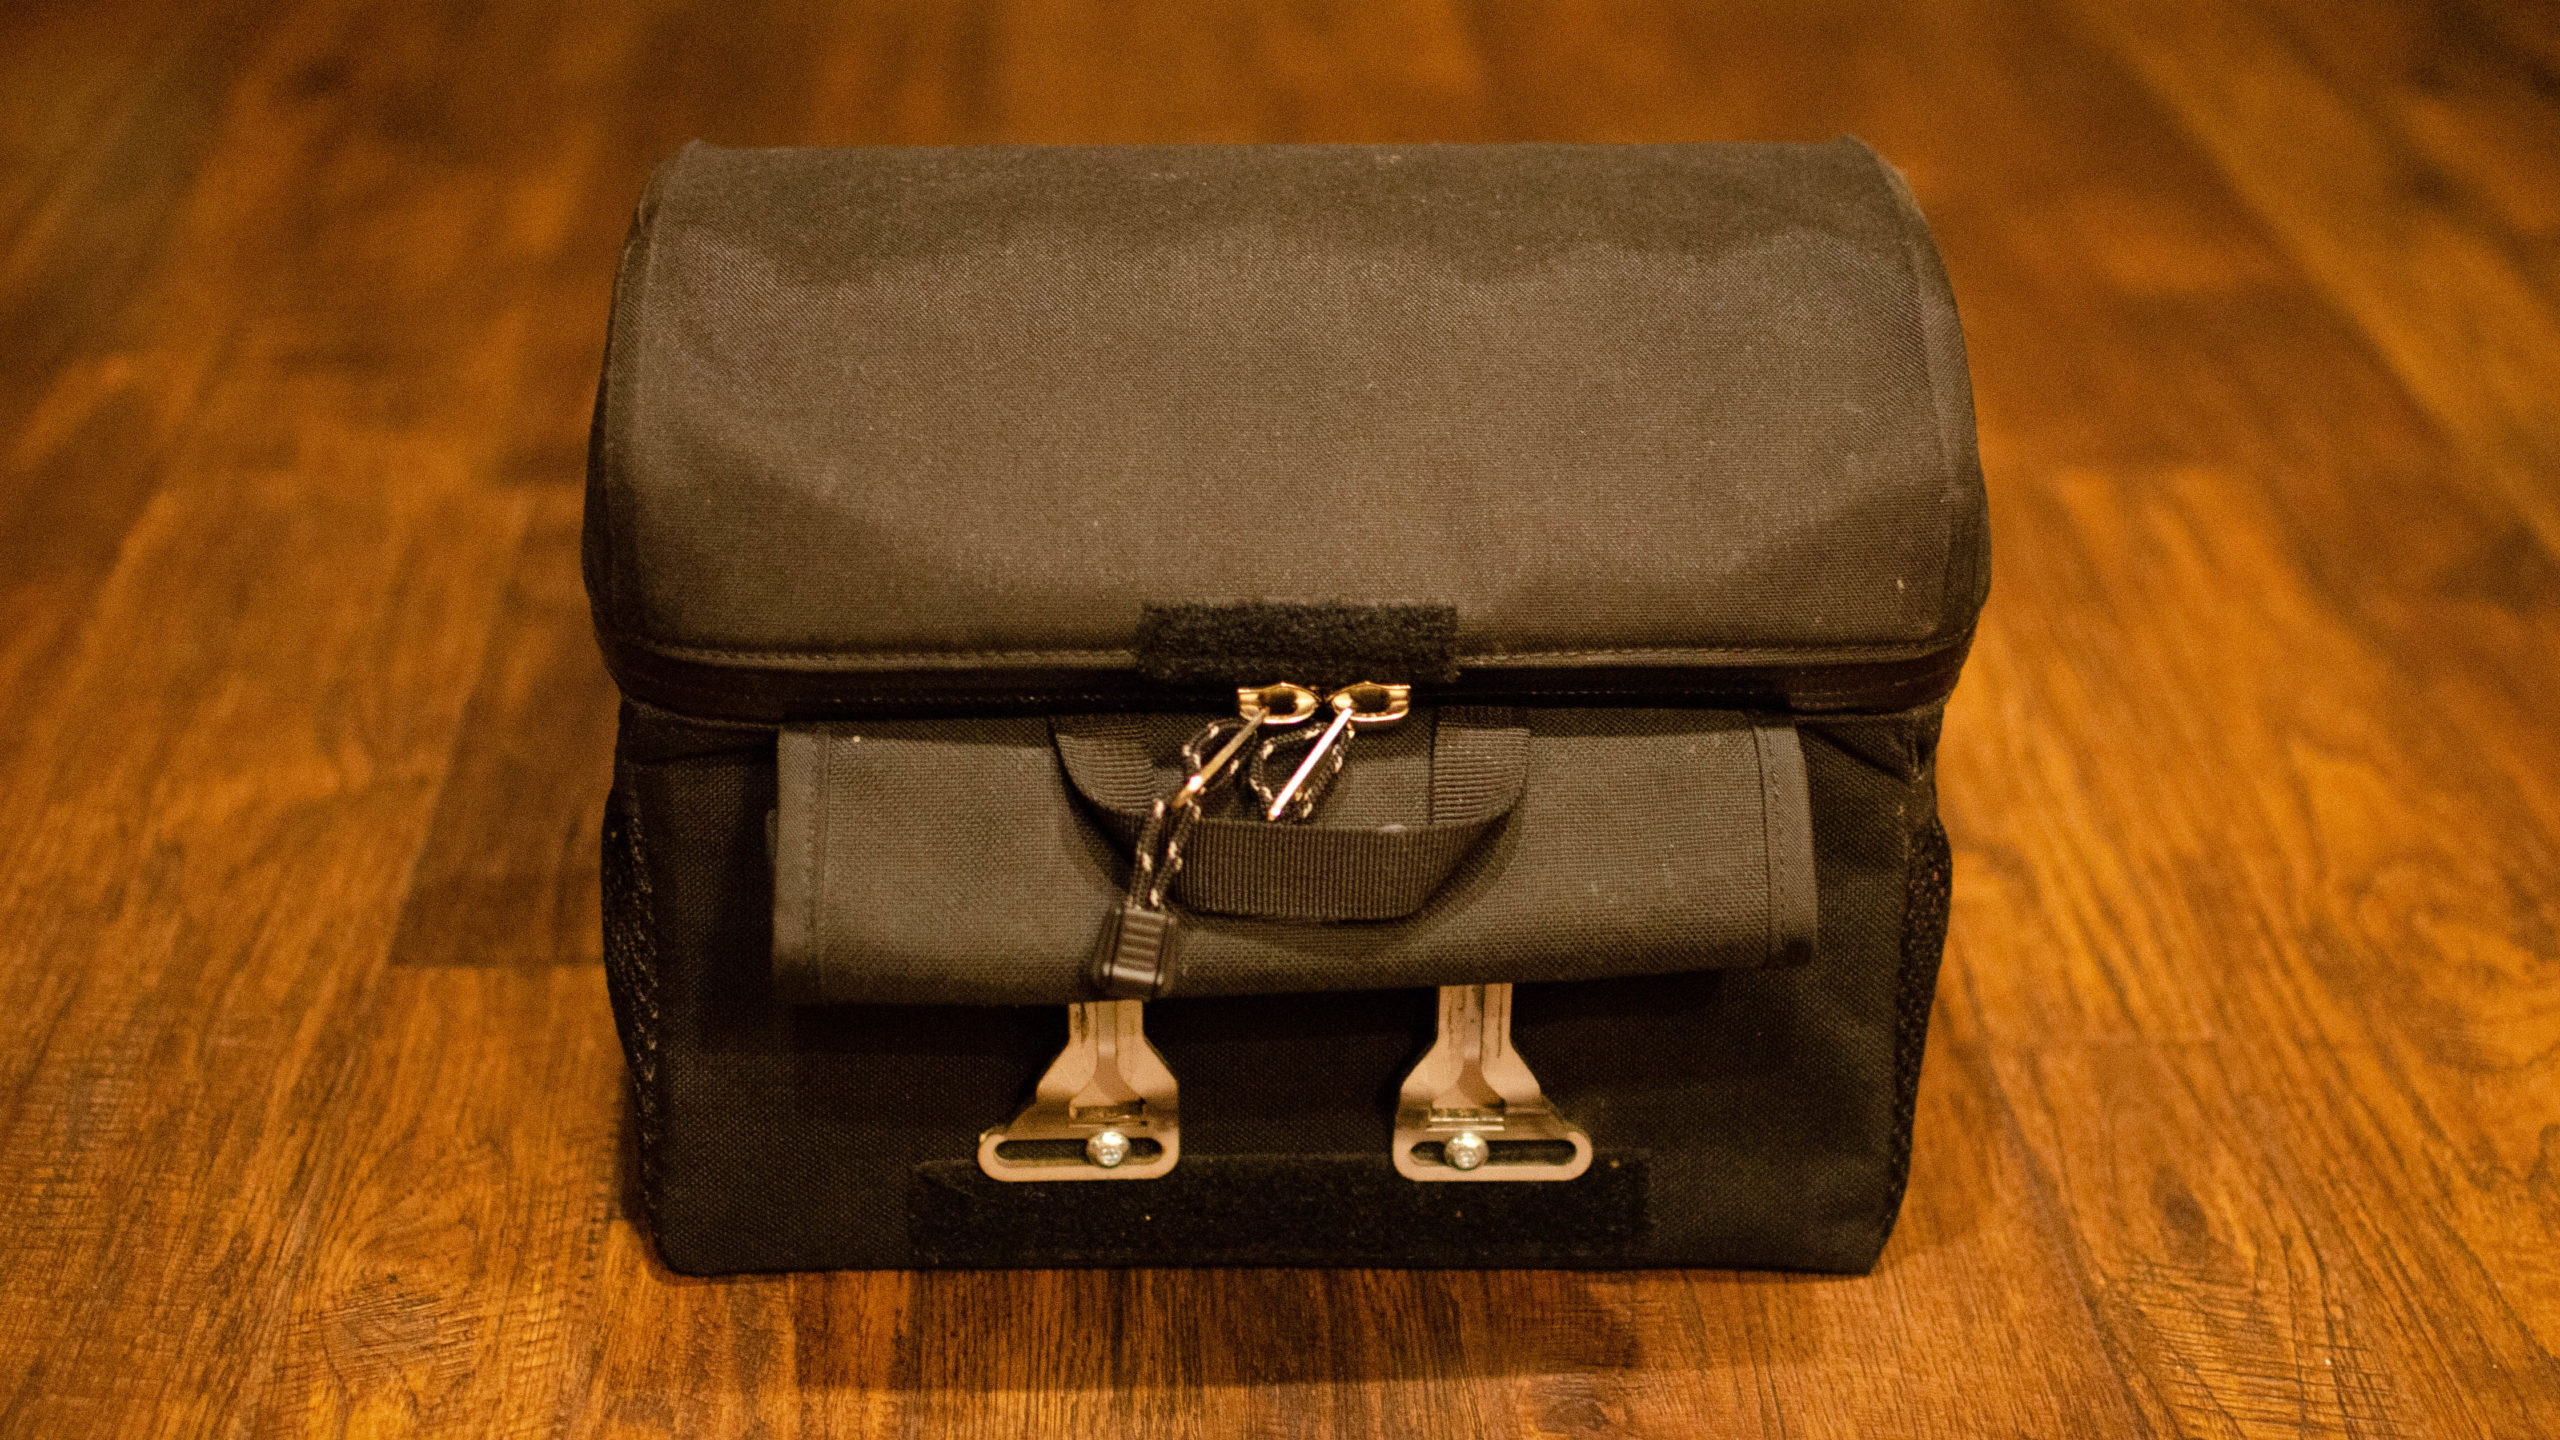
This is the main view from the drops. You can see the attachment points for the mounting bracket. The mounts can be adjusted using the screws you see below to suit your particular bike setup.
There is also the rolled-up flap that covers the mounts should you wish to attach the included carrying strap for easier off-bike mobility
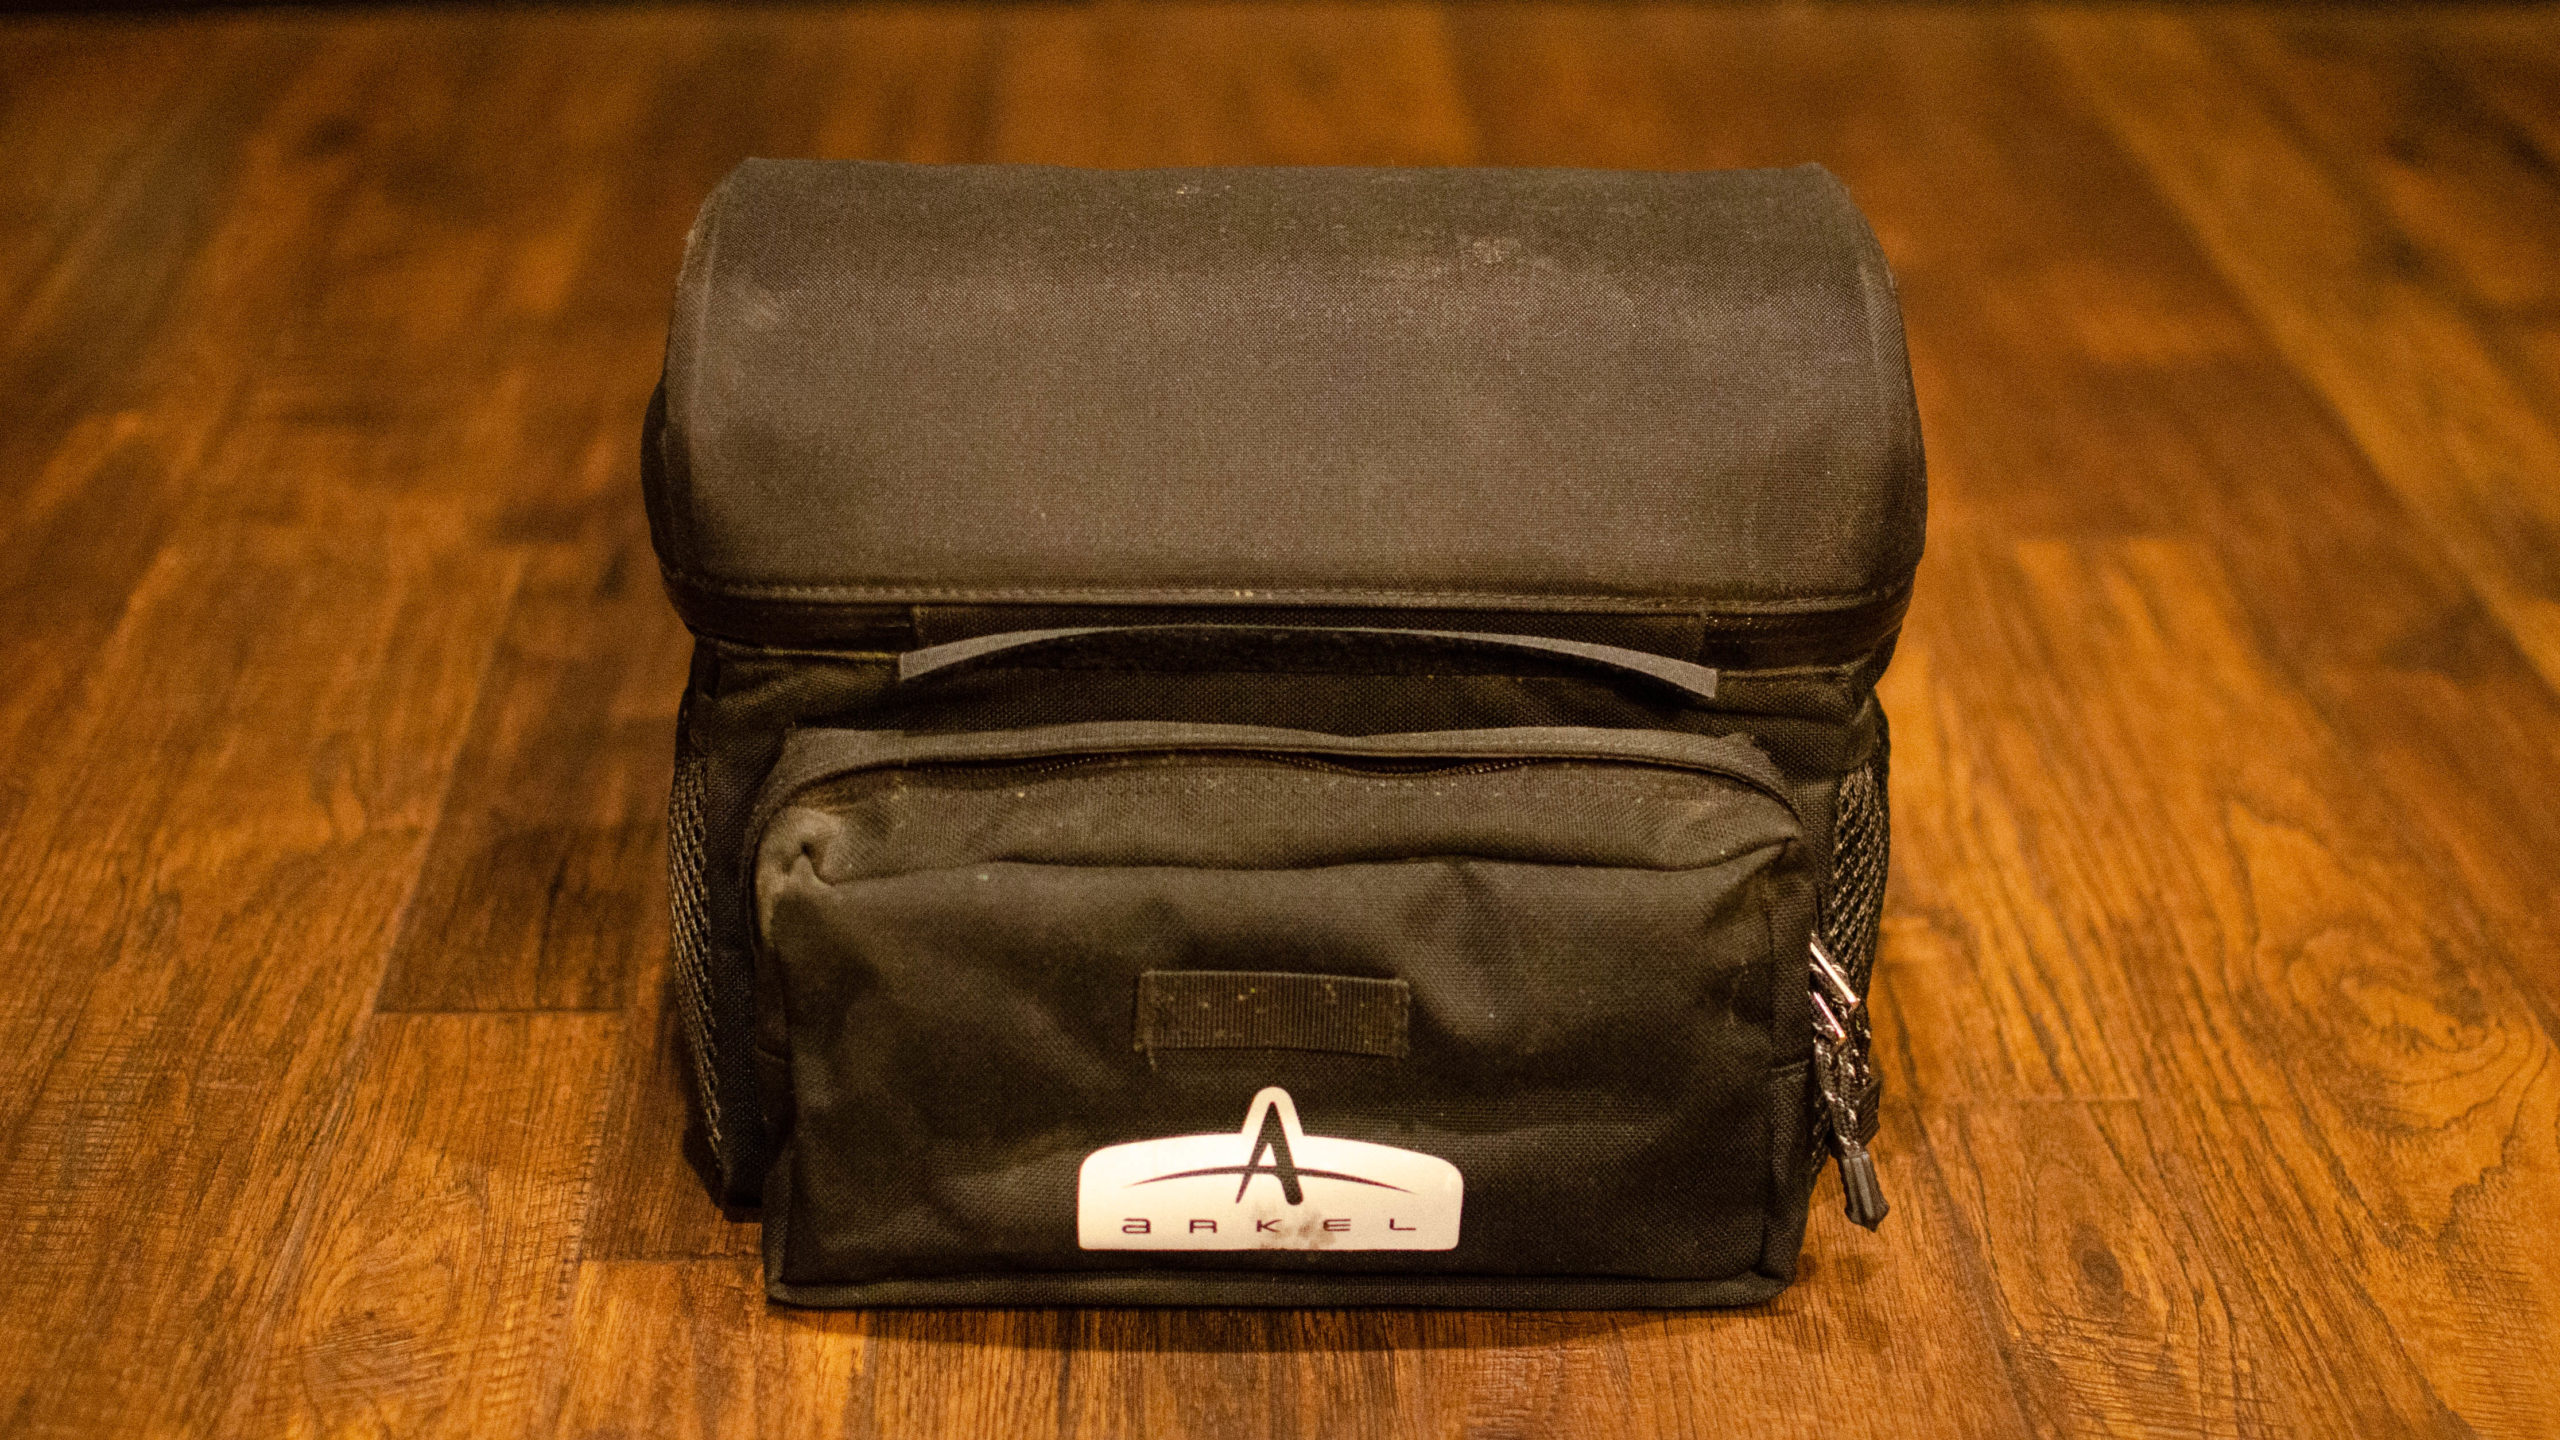
Here is the front view, highlighting the front pocket, which adds some additional storage. You can also see the two mesh pockets on the side that just fit my iPhone 11 or nicely hold a Clif Bar or two.
I apologize for the somewhat beat-up look of the bag from the front. I’m writing this review after almost two months and over 1,000 km of gravel roads. I didn’t clean it, and it’s a little dustier than I’d prefer for the purpose of this post. With that, I will note that after the rain test you’ll read about below, the top cleaned up nice, the front pocket always just seems a little dirtier and a little less neat.
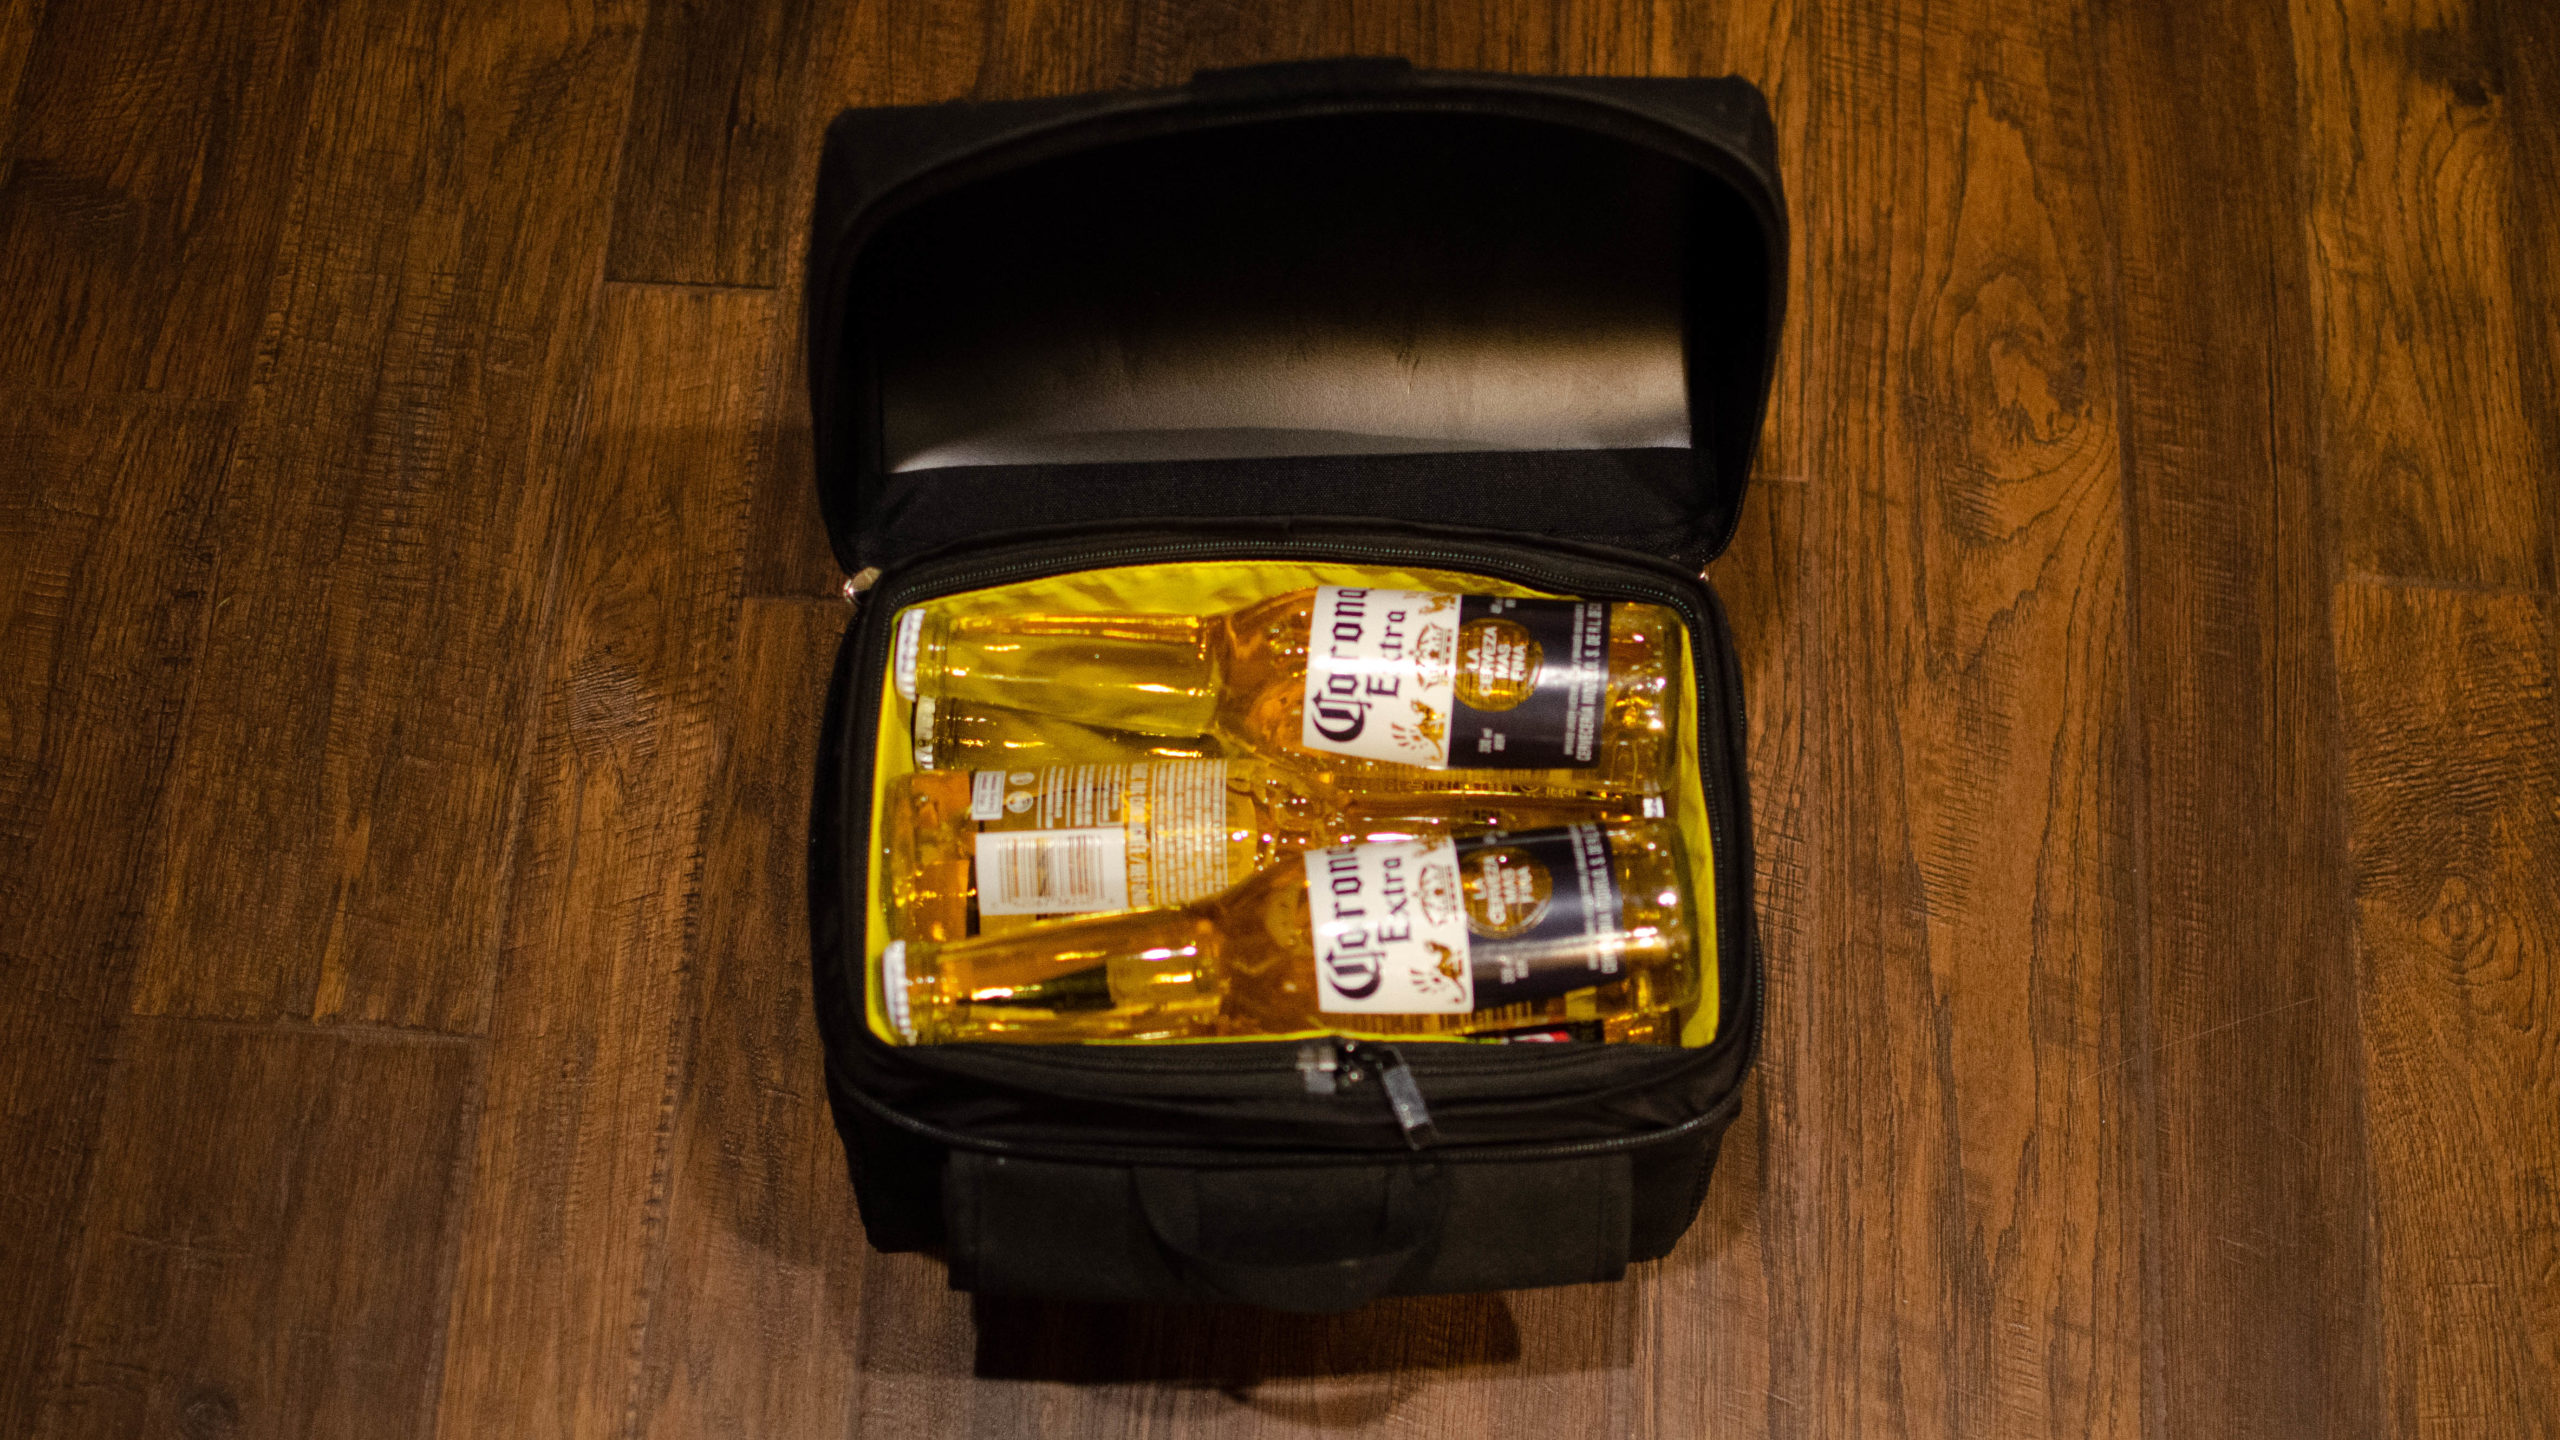
The bag has ample internal carrying capacity, set up with eight Corona’s for display purposes only. I wouldn’t recommend this in use as it’s probably not a good idea to ever put that much additional weight on your handlebars.
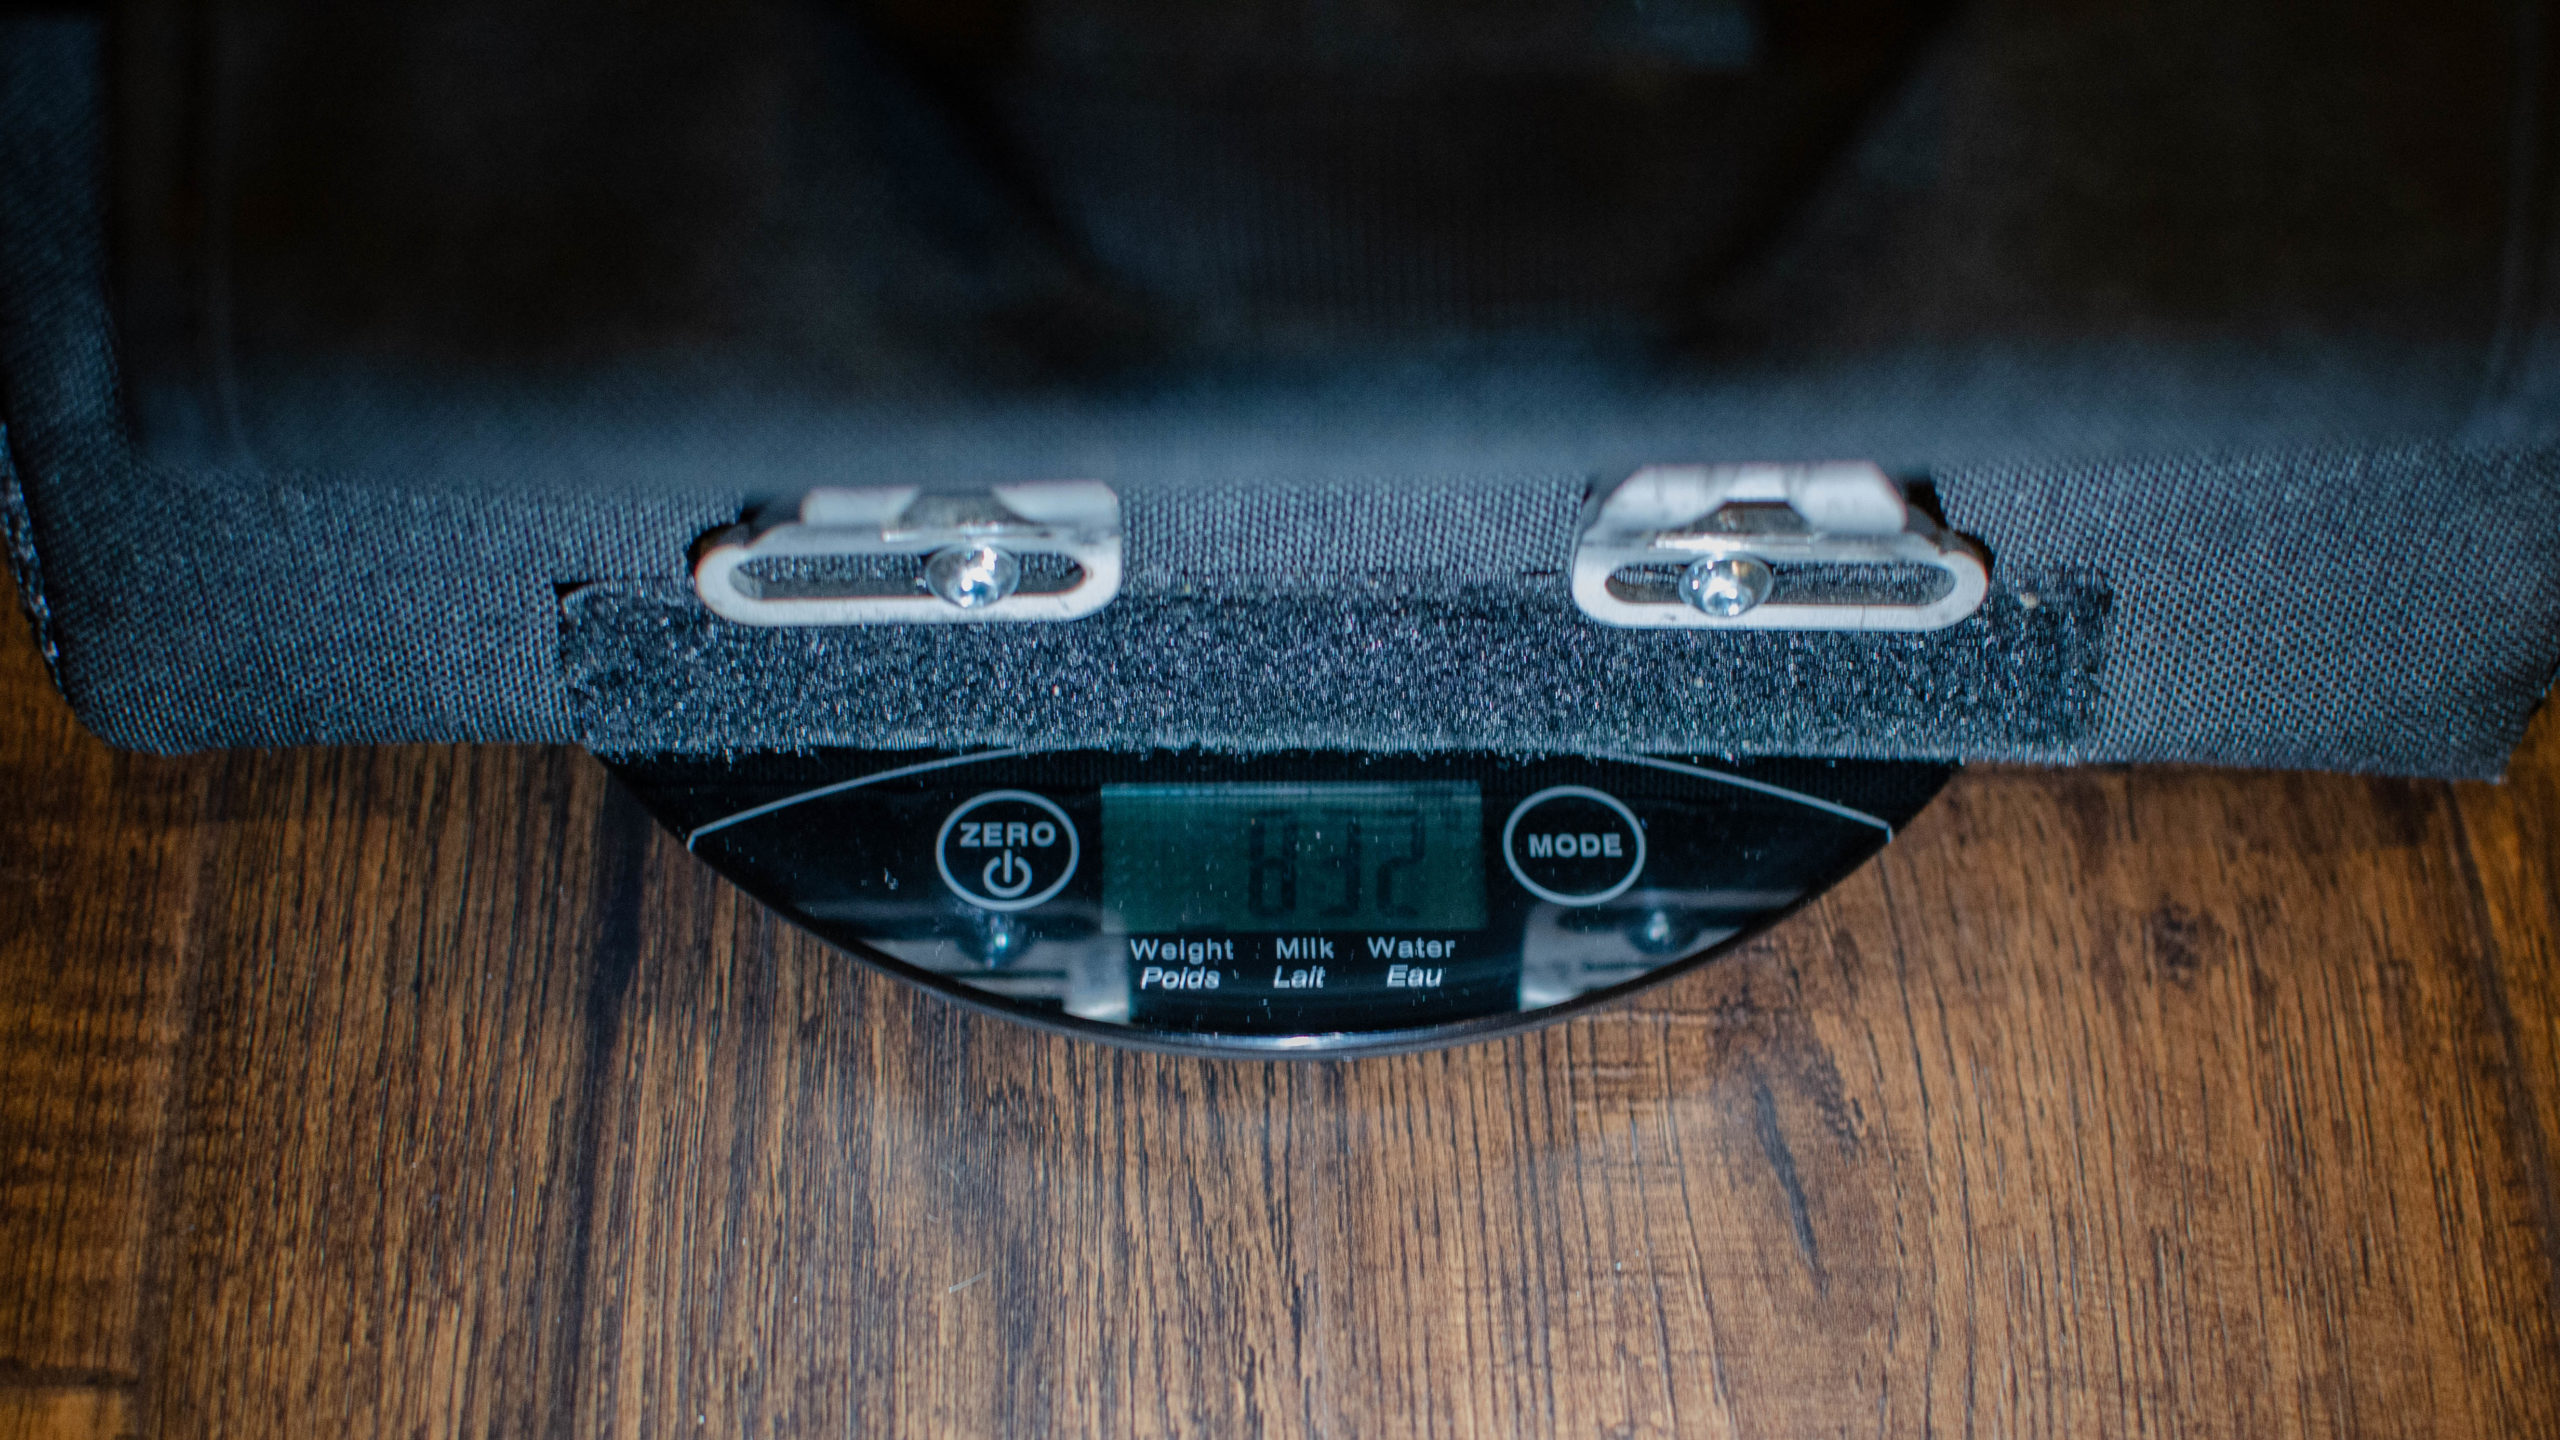
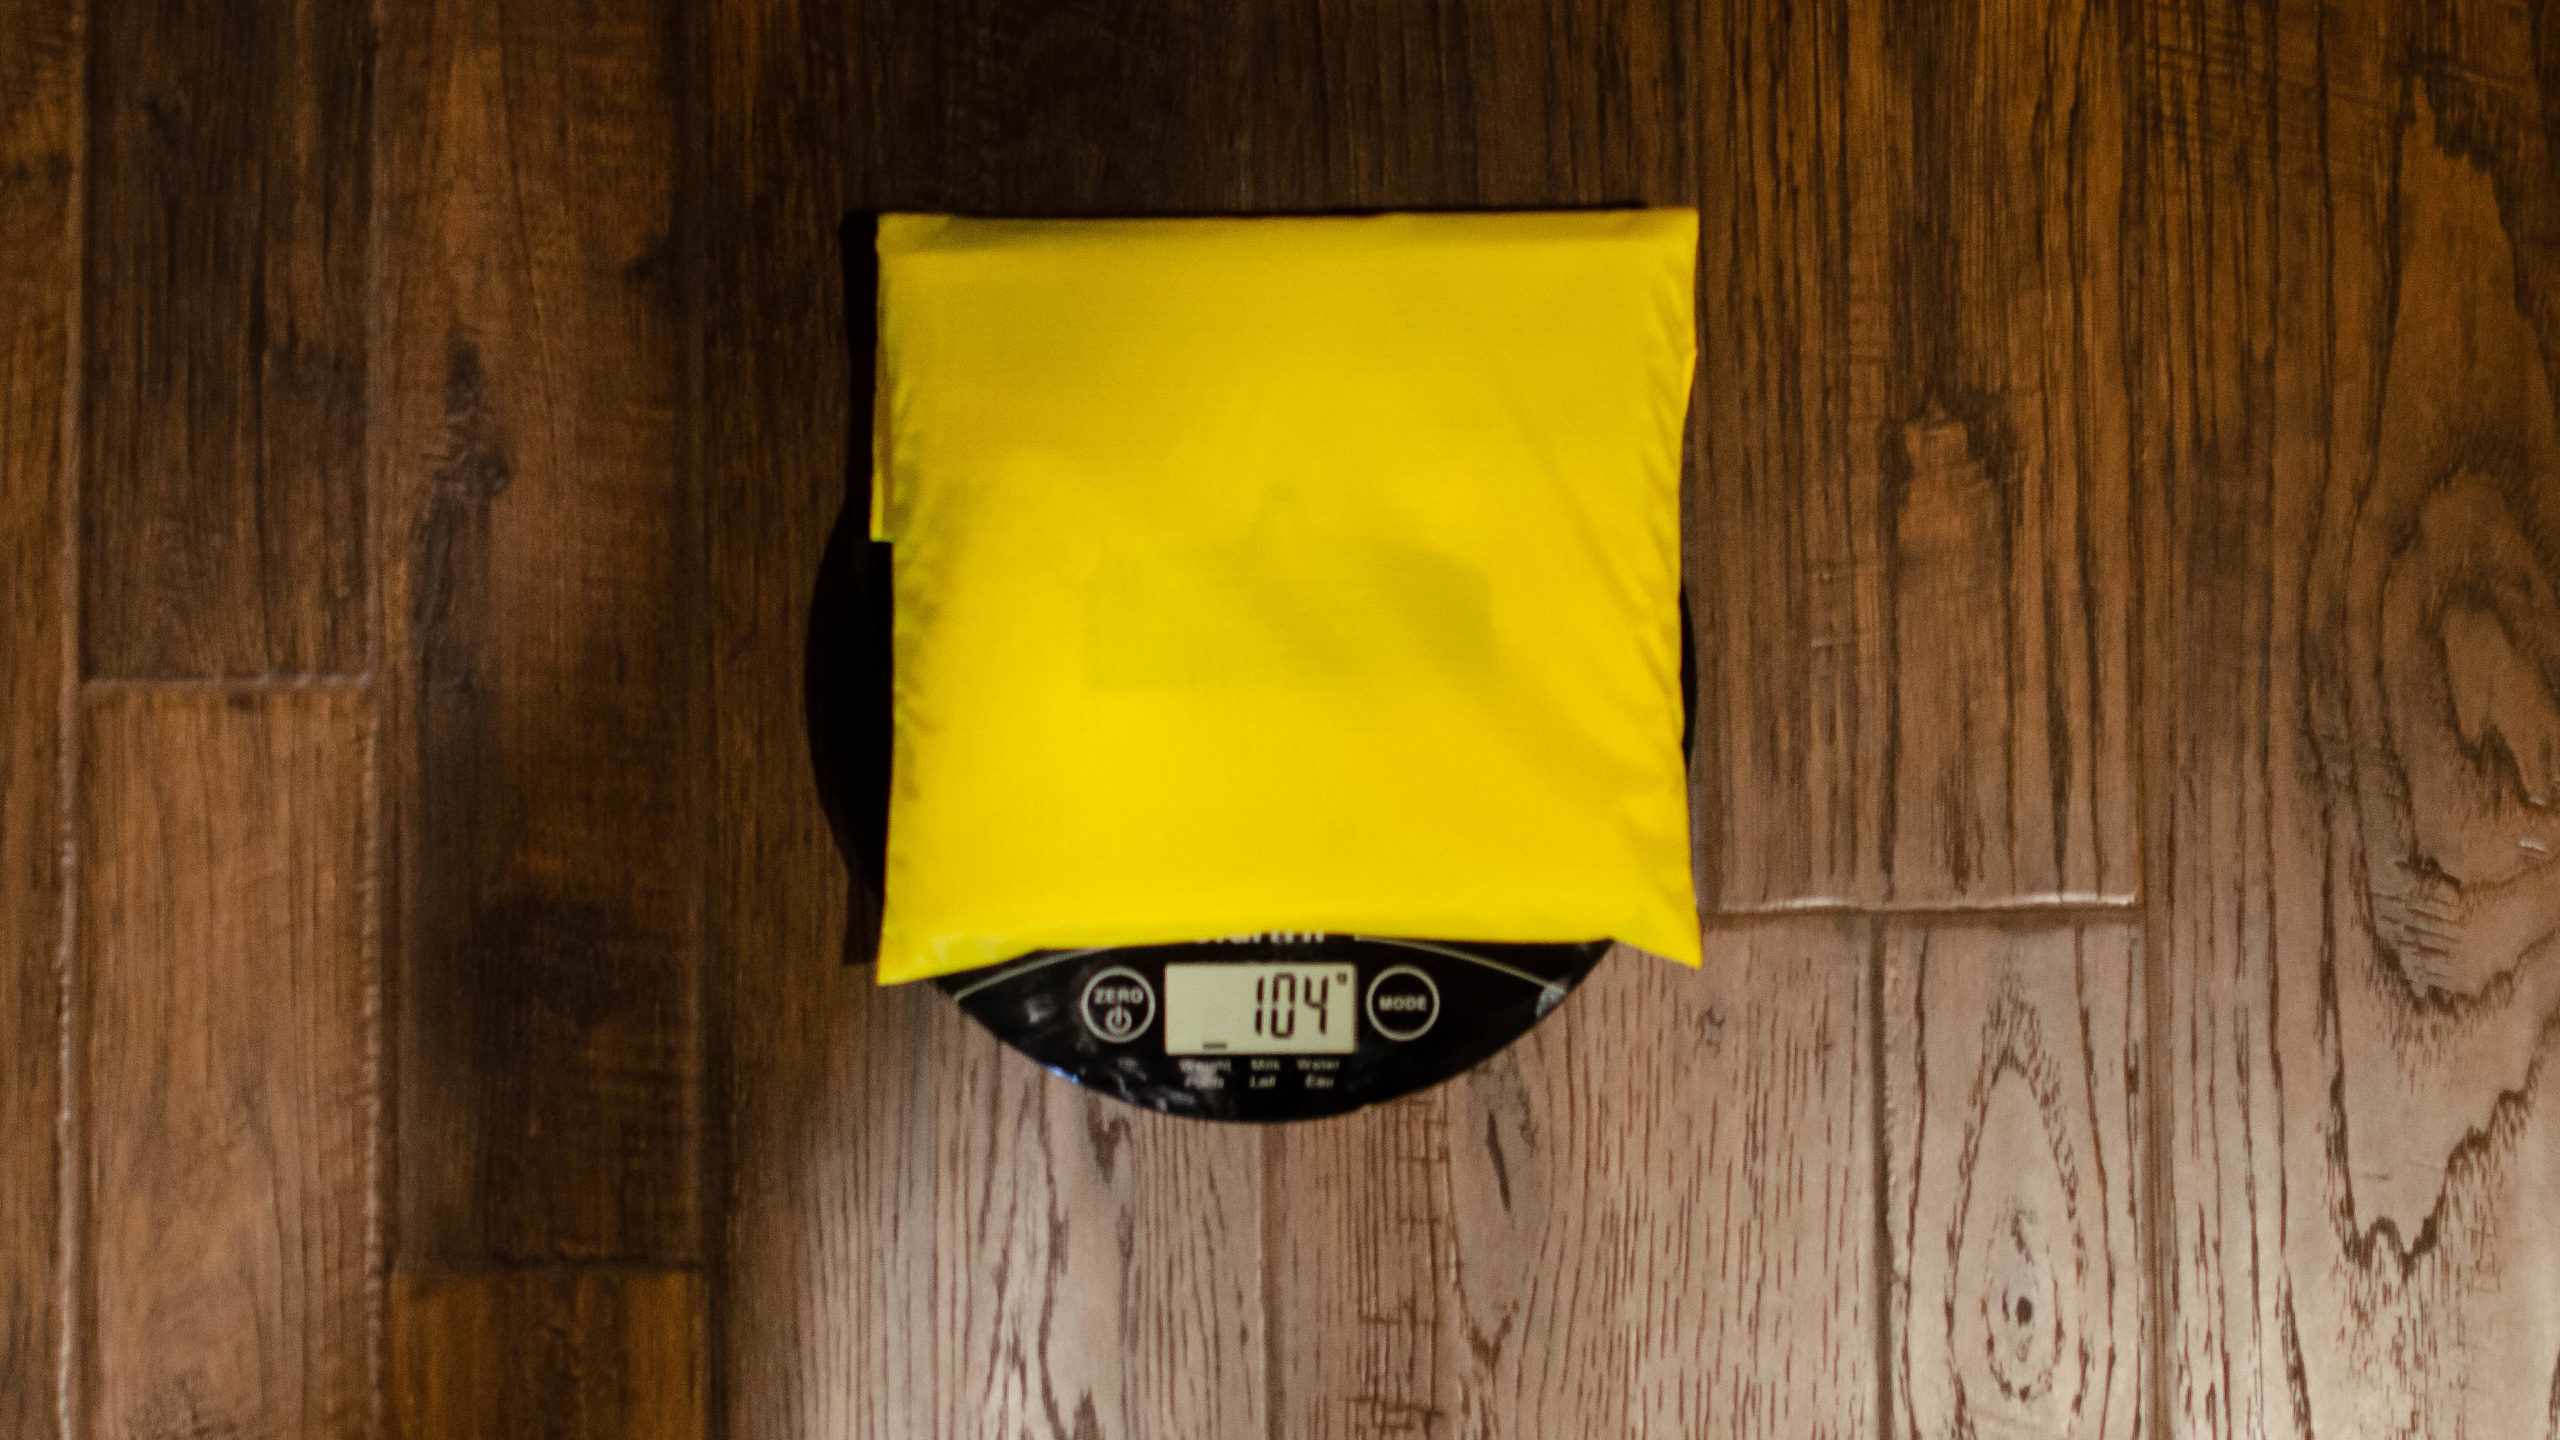
Weight Test
The included brochure lists the bag at 1.4kg. The actual tested weight came in quite a bit less at 832 grams or 1.83 pounds.
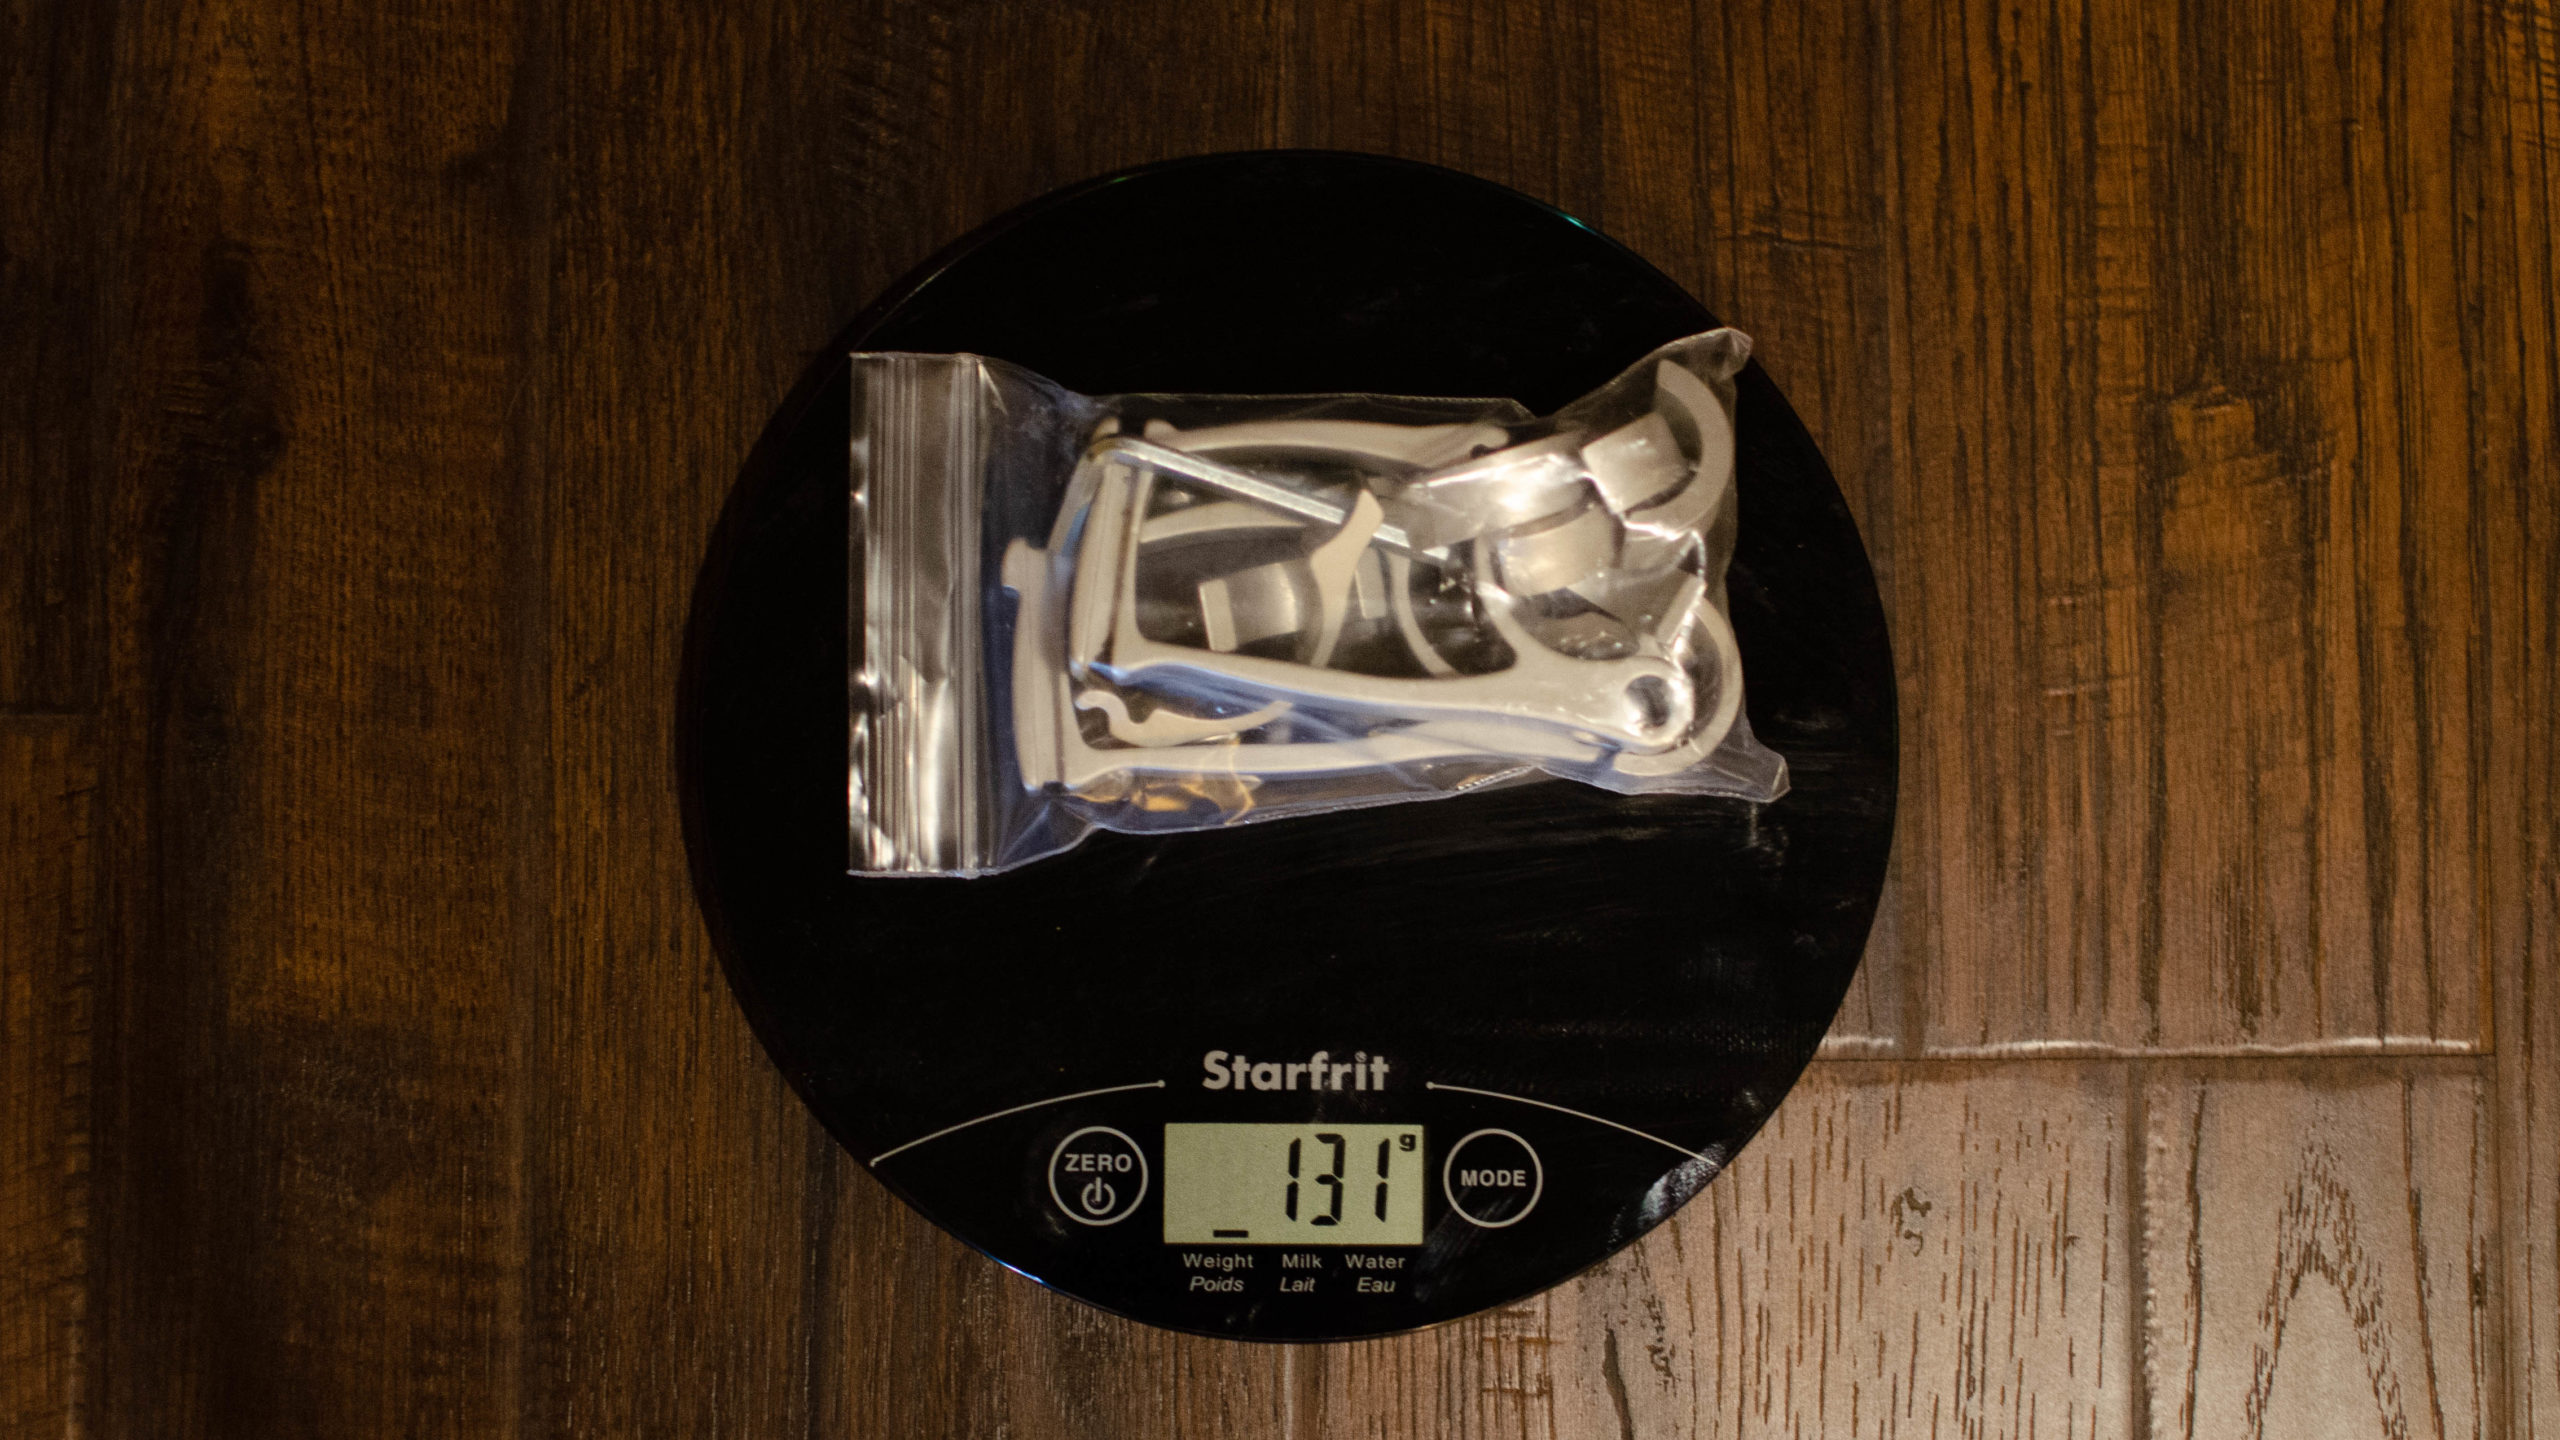
The aluminum mounting hardware adds an additional 131 grams or .28 pounds.
Do note, this is the spare set I purchased. If I recall correctly, not all pieces are required, so in reality, it will probably weigh a little less once installed.
How did the installation go?
The biggest challenge I had was trying to validate how tight to install the bolts on my handlebar, with the instructions simply advising to tighten the screws enough to avoid vibrations. Although great advice, that was a bit too confusing for me.
I then noticed that my aluminum handlebar recommends a torque of 5-6nm for the stem to handlebar bolts. I decided to go with the same for this, and so far, so good.
I will also note that I originally used a piece of an old tube between the brackets and the handlebar to provide help with scratch resistance. That was an absolute failure, with constant slippage leading to a bag rub on the front tire.
Once installed, the bag easily pops on and off without issue.
Trials and Tribulations of Holding the Camera
Arkel has an excellent write-up on their site explaining the best way to hold a camera, “How to Transform an Arkel Handlebar Bag Into a Deluxe Camera Bag.”
And of course I didn’t follow these instructions.
Instead, I tried my best to secure the camera using several configurations of warm clothing, snacks, and whatever else was on hand. If all I did was road touring, this probably would have worked well.
But I don’t, and it didn’t.
Instead, nearly every bit of off-road ride would send shocks down my spine as I’d listen to my camera fly around inside, somehow always freeing itself of whatever protections I had put in place.
After riding a particularly rough section of single track on the Durham Destroyer I’m Not Worthy, it was time to follow Arkel’s advice or give up on this experiment.
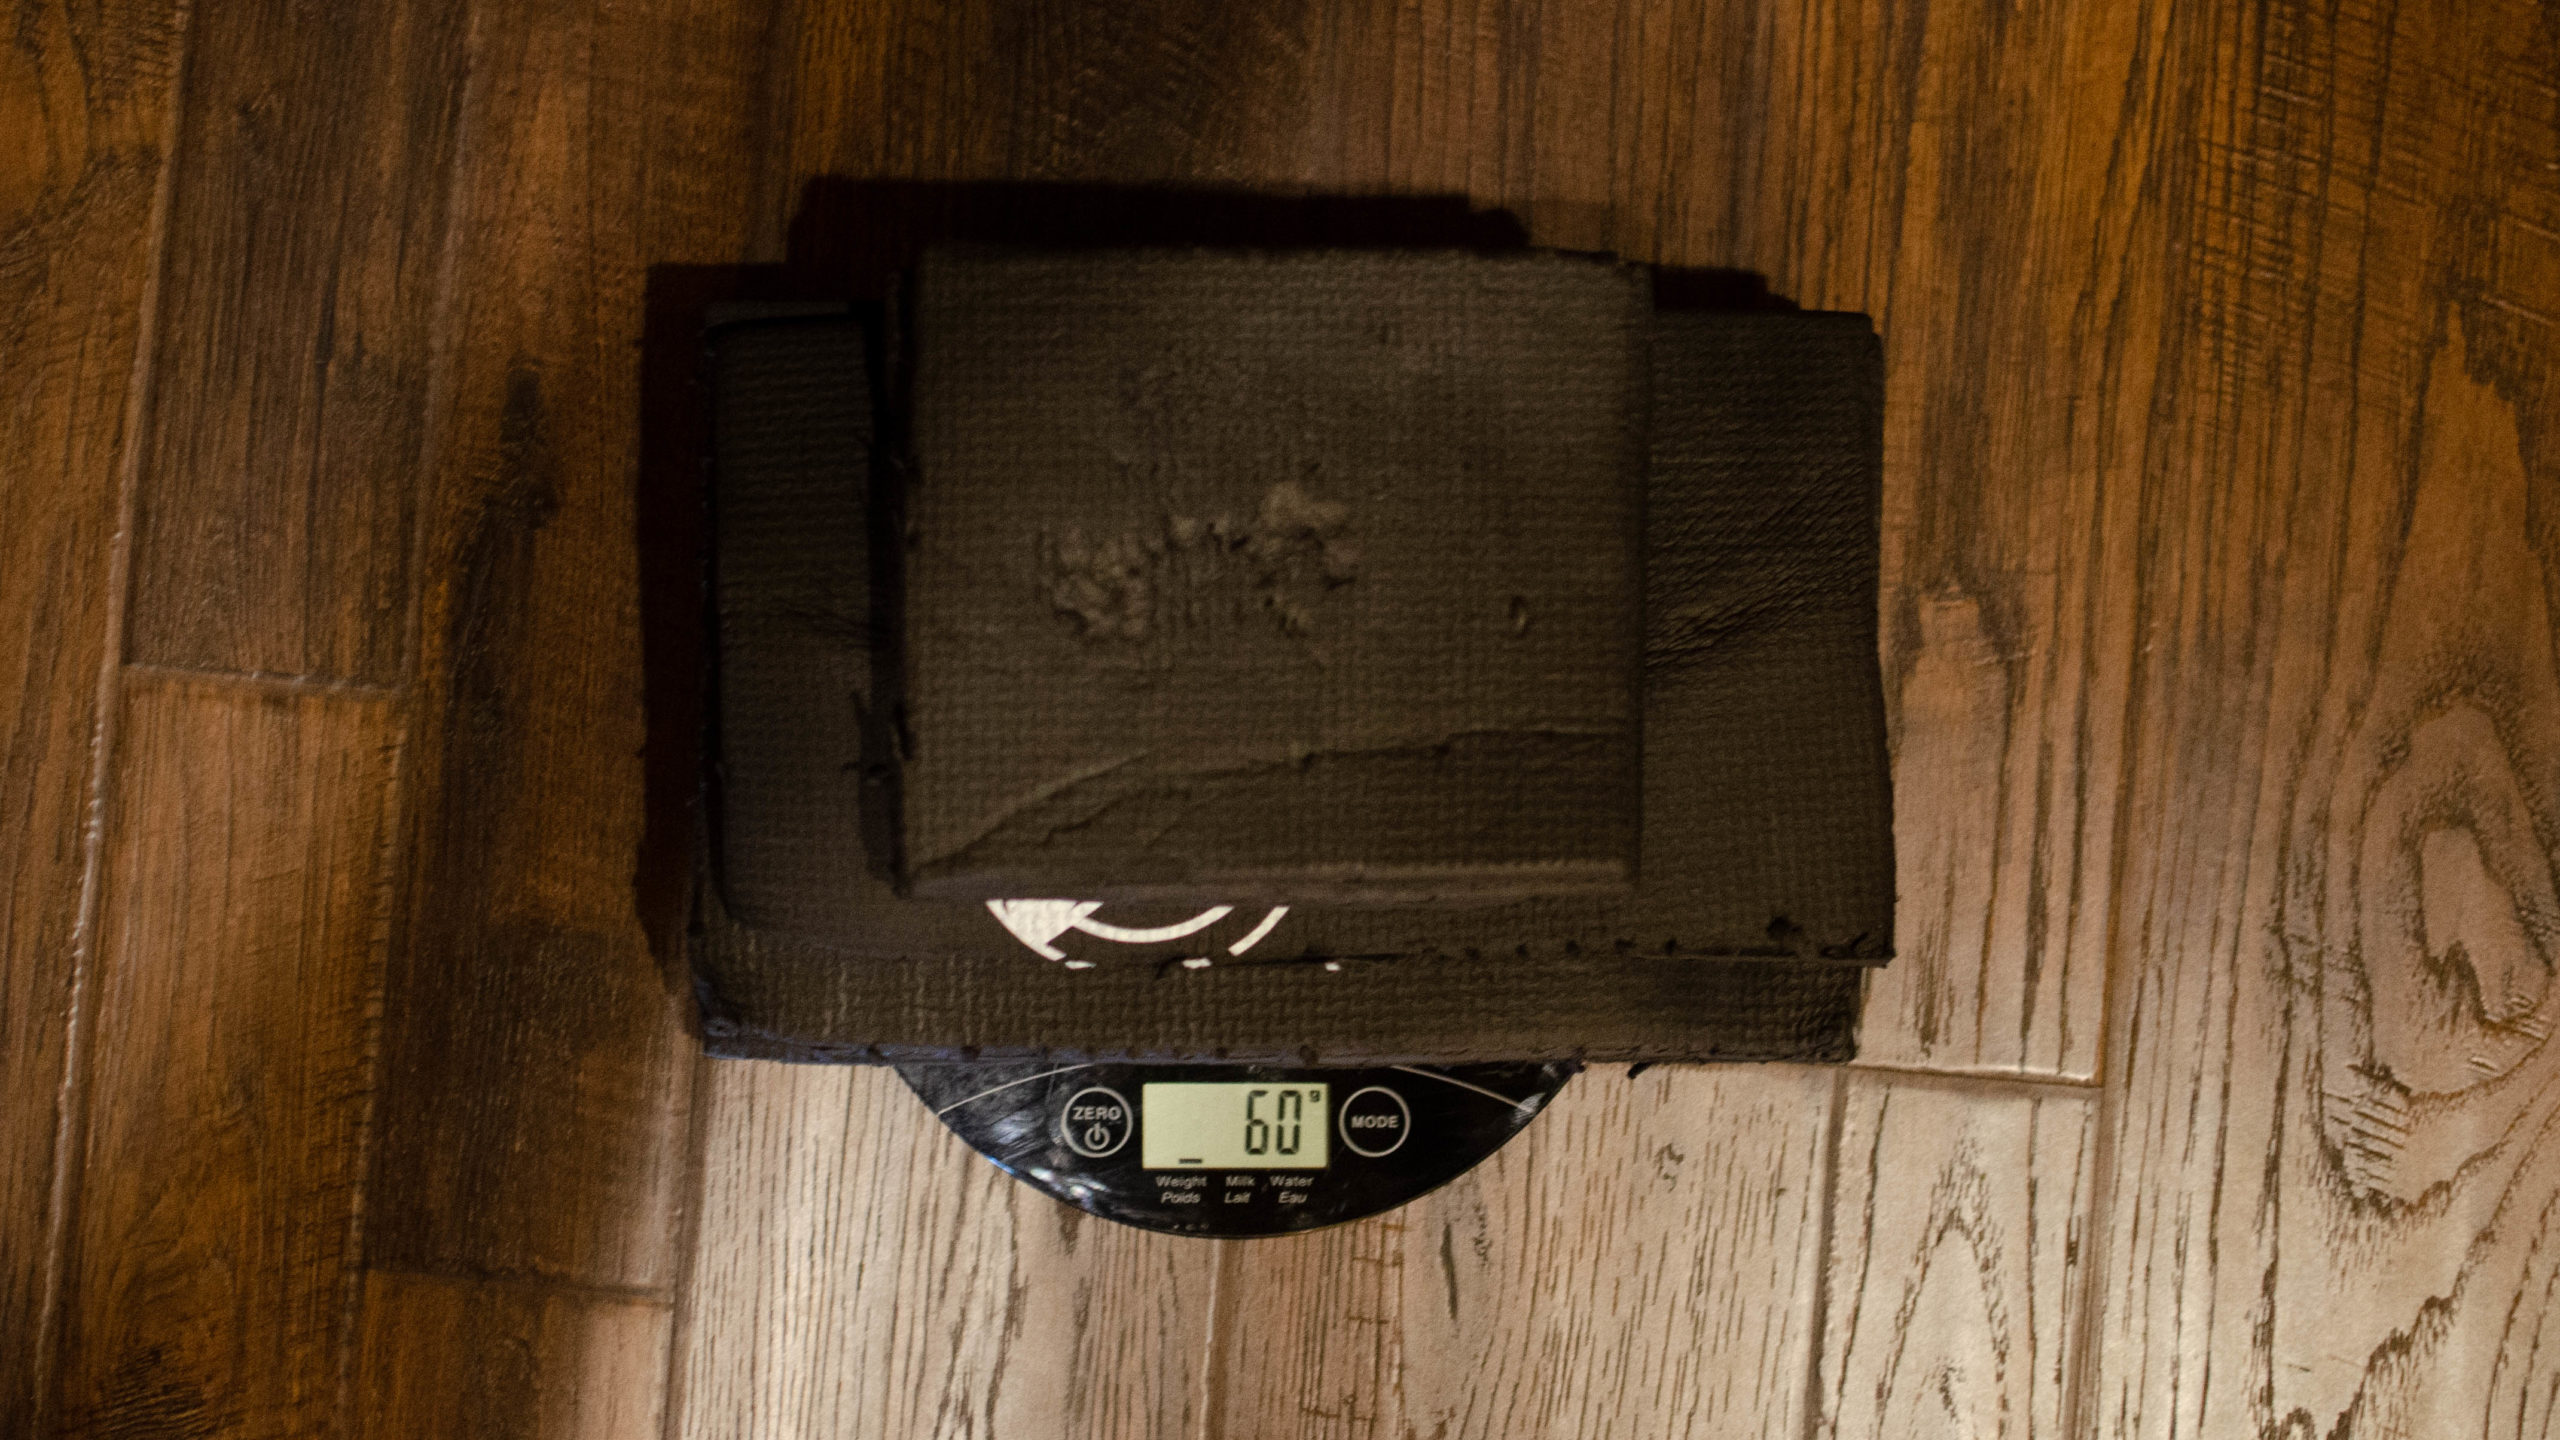
Following Arkel’s instructions, I purchased a 1/2″ foam camping pad to cut to size. For reference, this was the, “Wakeman Sleeping Pad, Lightweight Non-Slip Foam Mat.”
Here’s what it looks like with the camera installed.
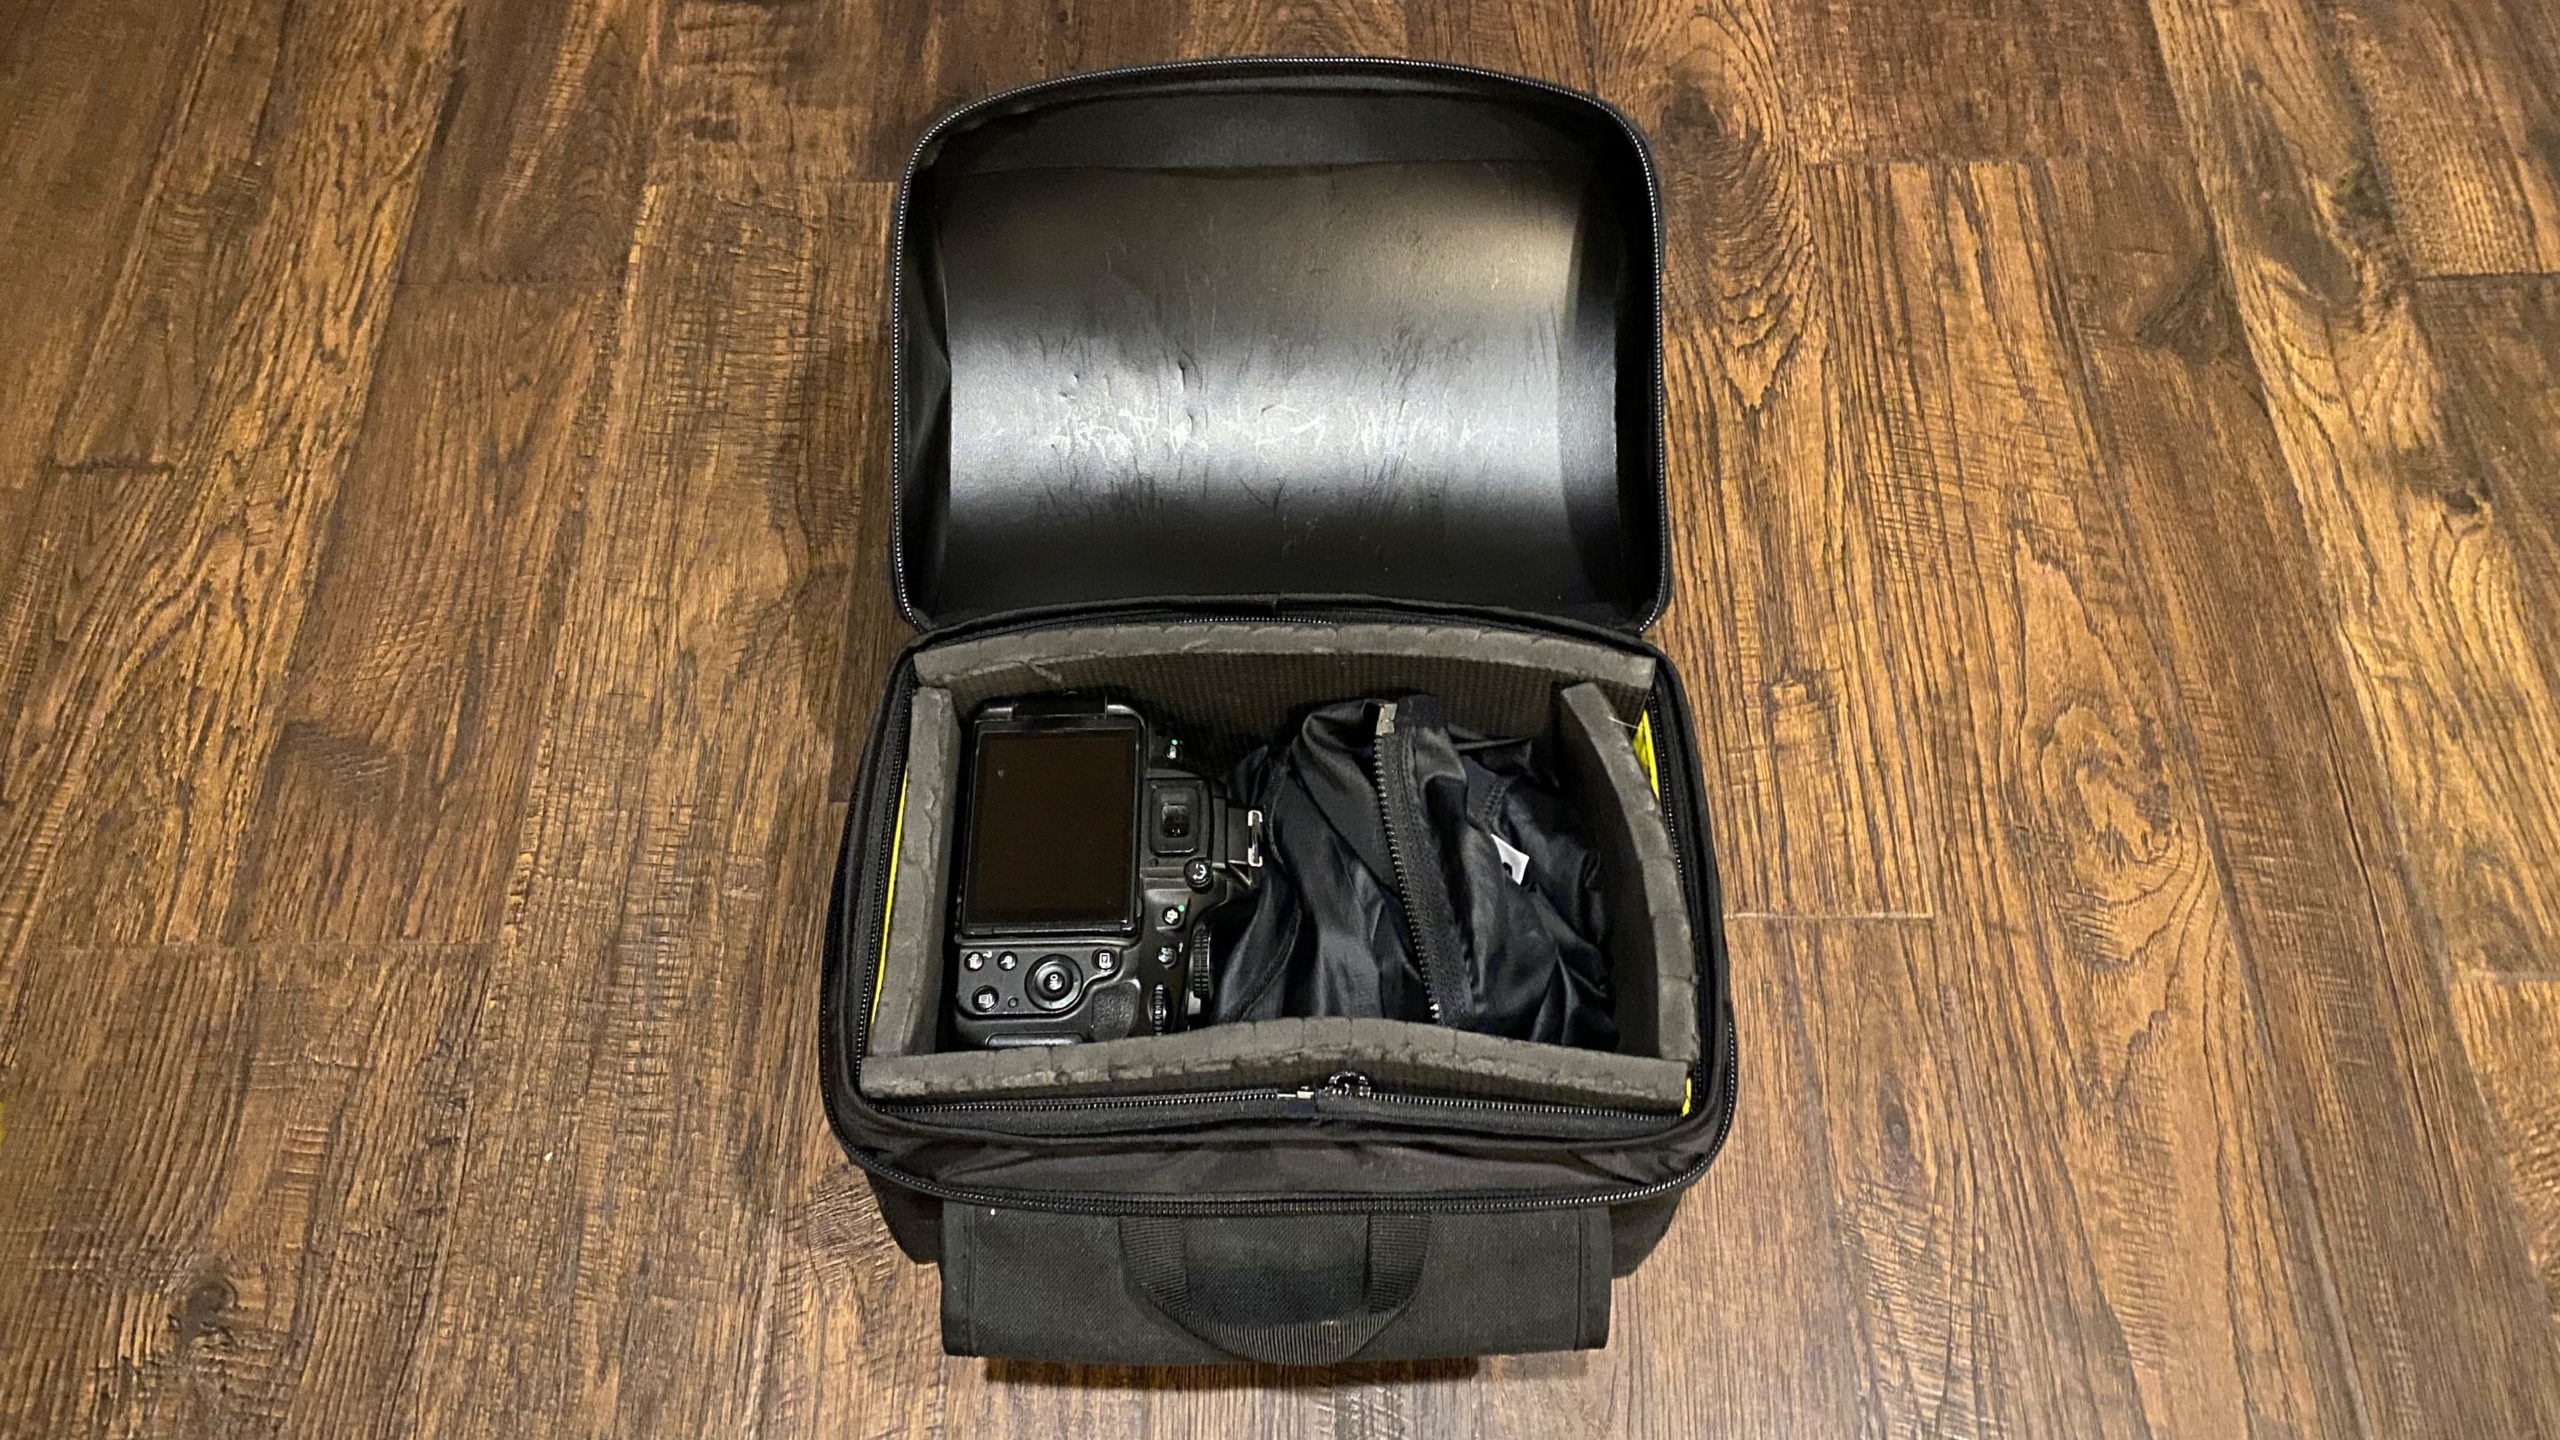
The cut pad adds an extra 60 grams of weight.
Since installing the additional padding, I haven’t ridden anything as rough as the Durham Destroyer, but I can say that it just feels more secure, seems to stay in place better, and it sounds like there’s a lot less movement inside.
Recommendation, if you are planning hard off-road riding, further testing and tweaking may be required. However, if you’re like me and end up usually doing a mixture of single track, double track, and mainly gravel roads, you should be good.
Arkel Handlbar Bag Rain Test
I’ve yet to ride in rain and haven’t yet had the chance to test the claimed 100% waterproofing.
When I started this post, the weather called for 15-30mm of rain overnight and throughout the next day, so let’s see what happened.
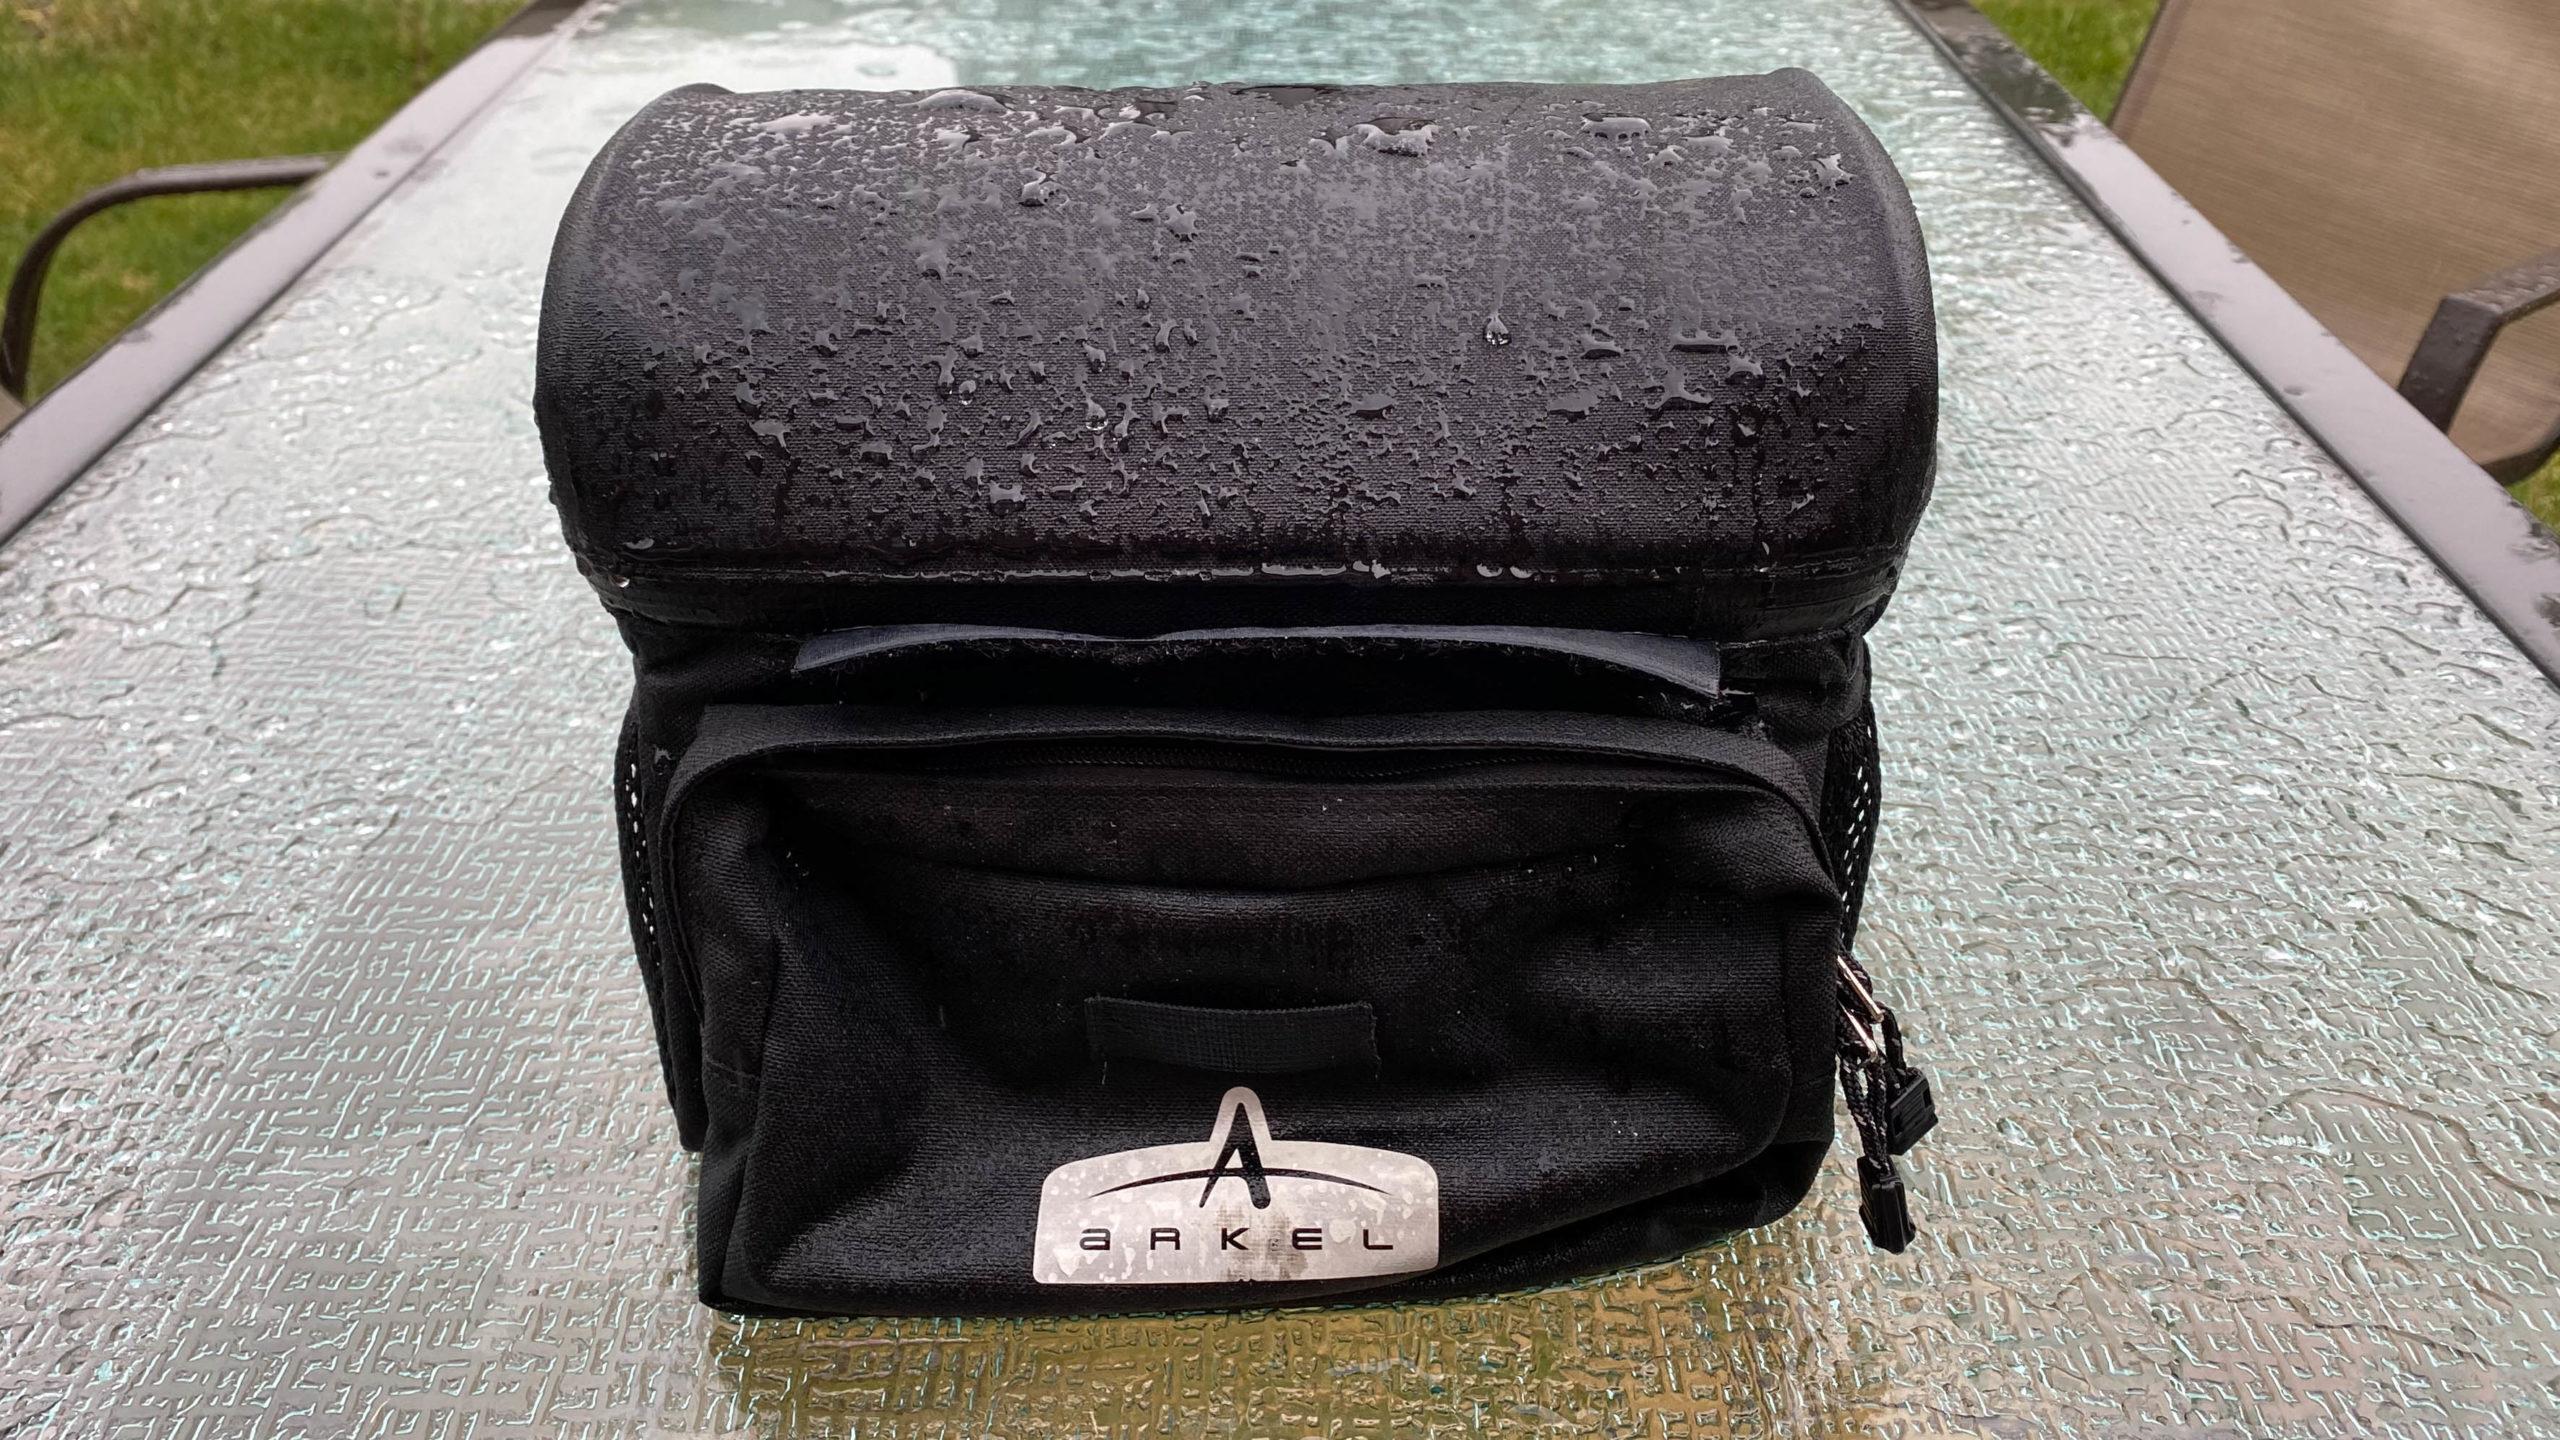
As you can see from the picture below, the main bag was beading the water well. Arkel notes that the front pocket does not have the same waterproof capabilities and recommends the optional rain cover if required.
After all that rain, the main compartment with the yellow liner installed was quite humid, but no water was present.
Also not shown, but to be noted was that inside the protected waterproof compartment, I had put in a whole bunch of tissue paper that remained dry despite the rain.
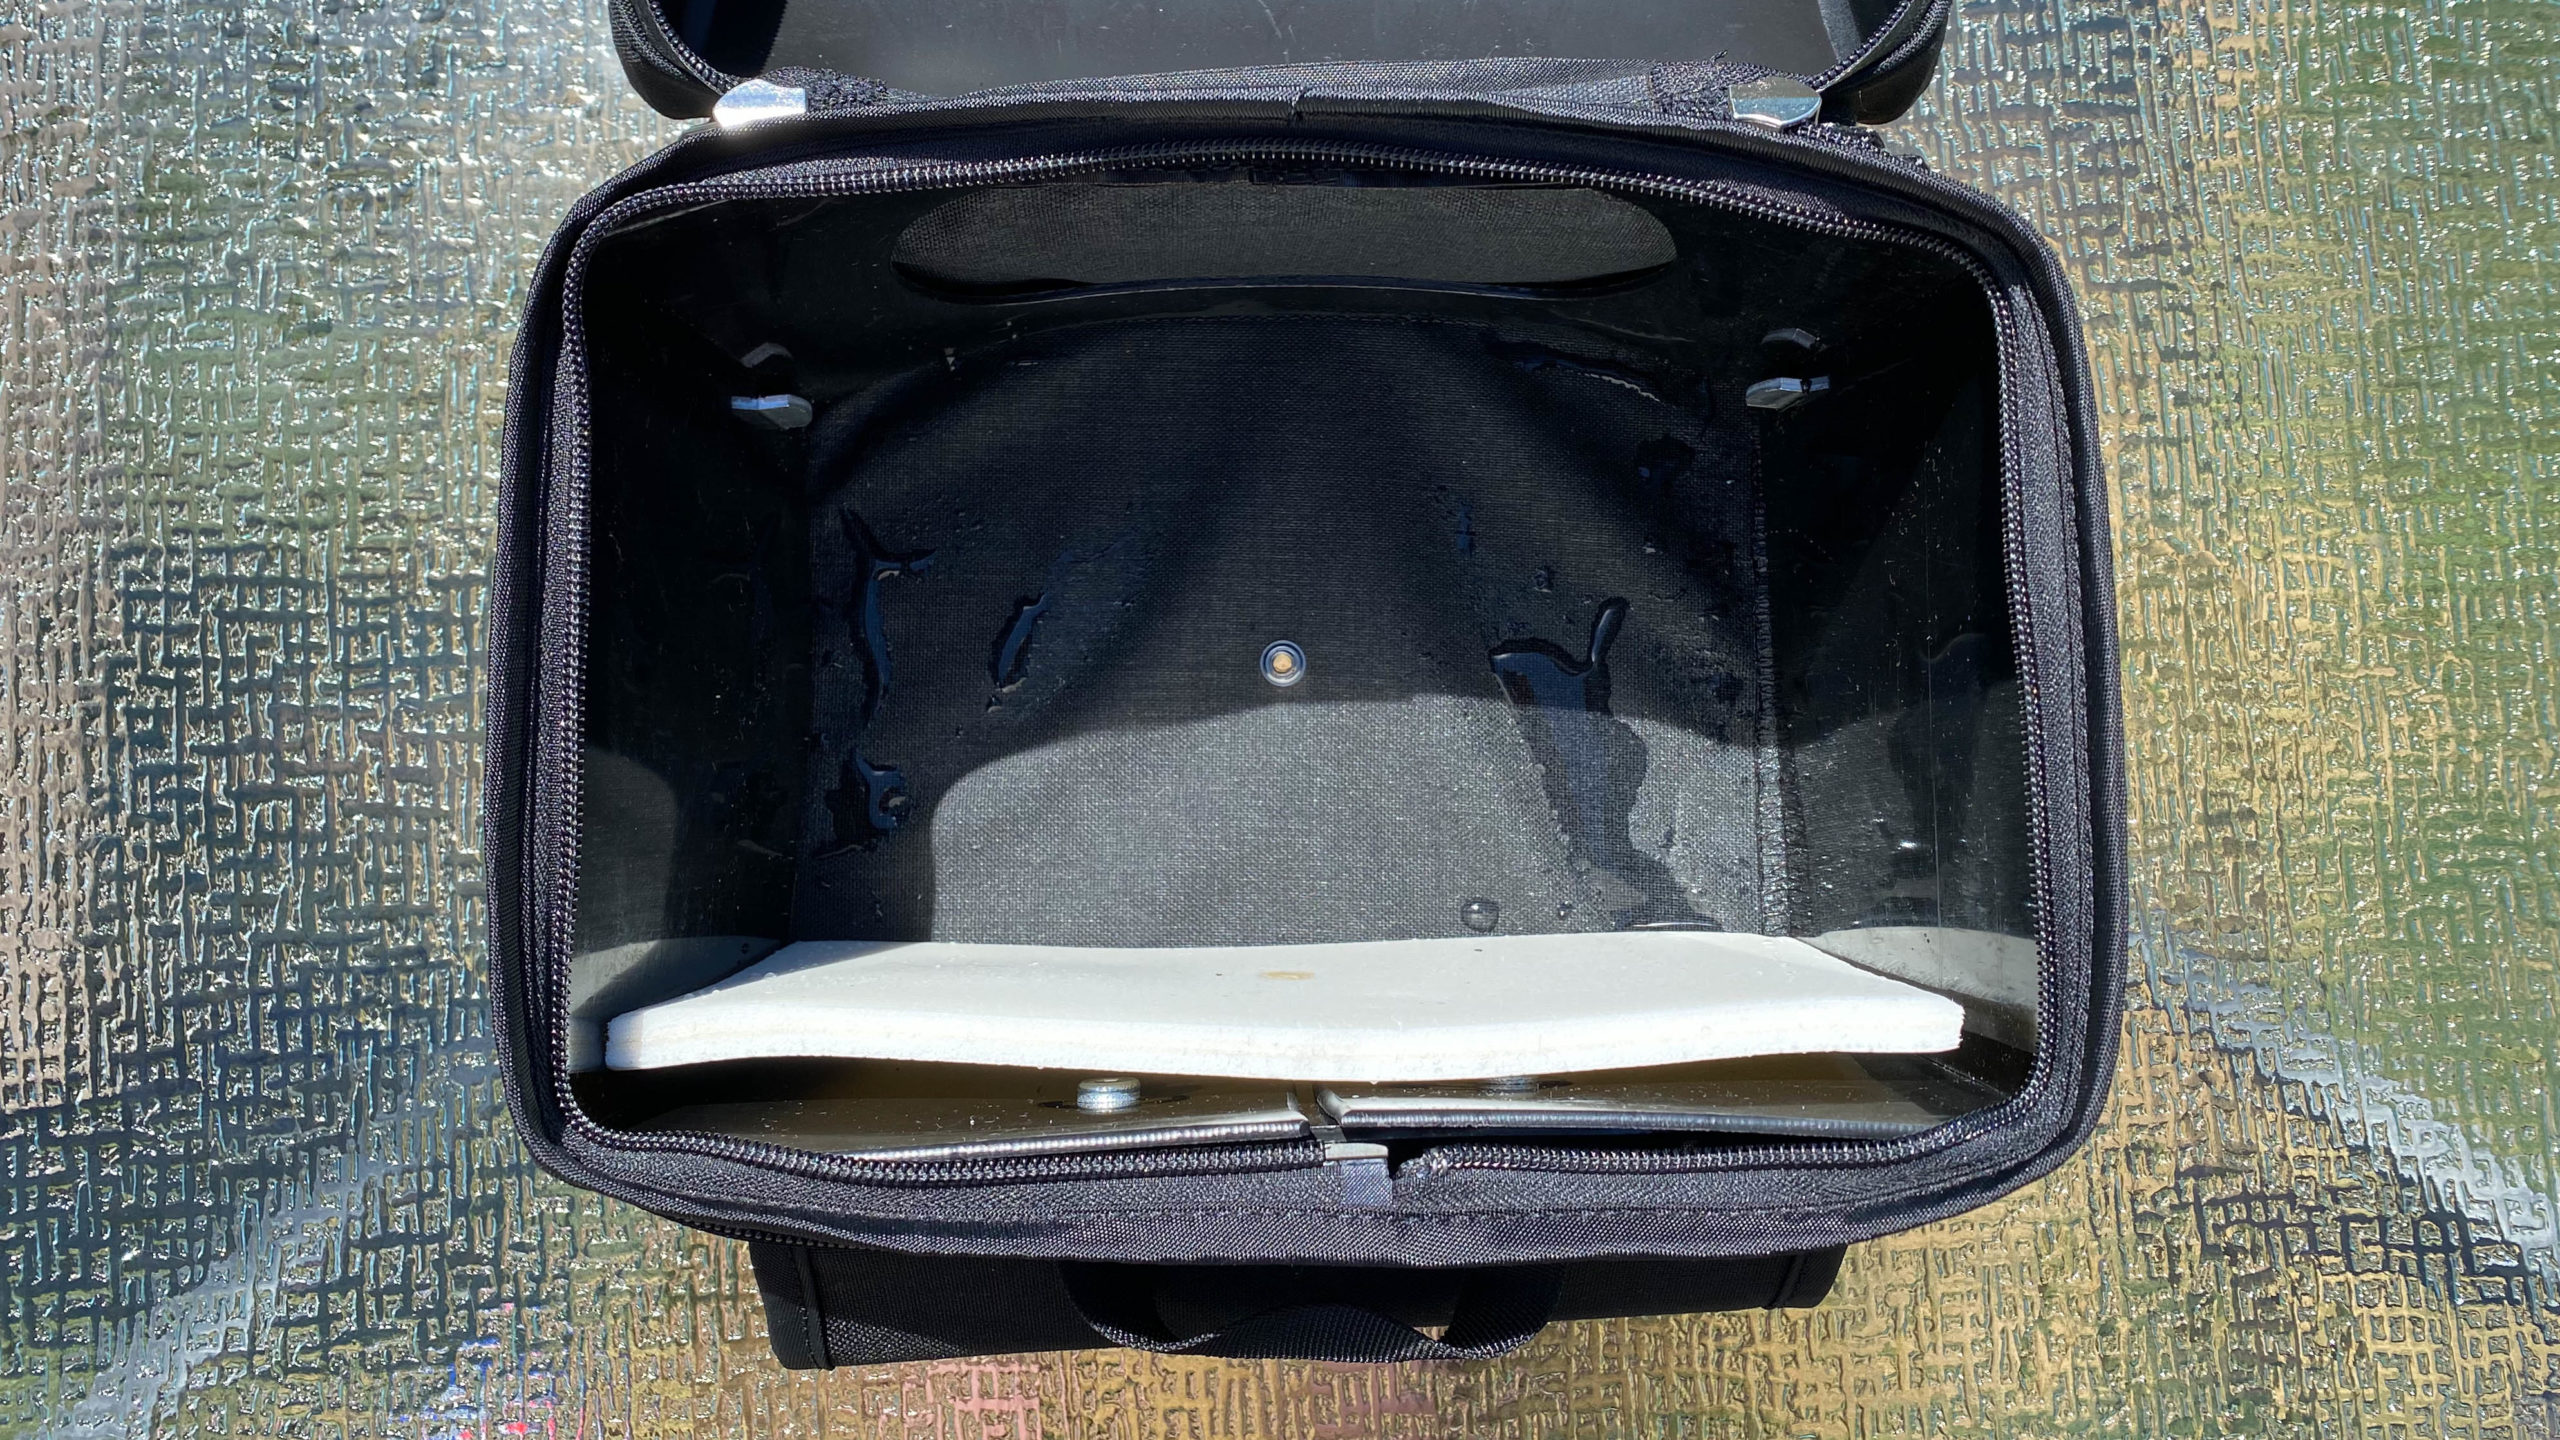
With the liner removed, you can see that a bit of water did manage to find its way in.
So I’ll agree that where you’ll actually store your goods within the yellow liner appears fully water-resistant, but water can still find its way into the bag itself.
Do note, the rain cover was not installed for the purpose of this test, simply because the claim is that it’s only required to protect the front and side pockets while adding additional grime protection to the main bag.
Riding with the Arkel Handlebar Bag
I’ll keep this short and simple.
Riding without the bags the bike feels light and nimble, a true speed machine.
Riding with anything upfront, the bag, bottles on the forks, or anything else, definitely changes the feel, especially when navigating technical singletrack.
As I’ve already noted above, the camera feels secure on anything except the most techical of single track.
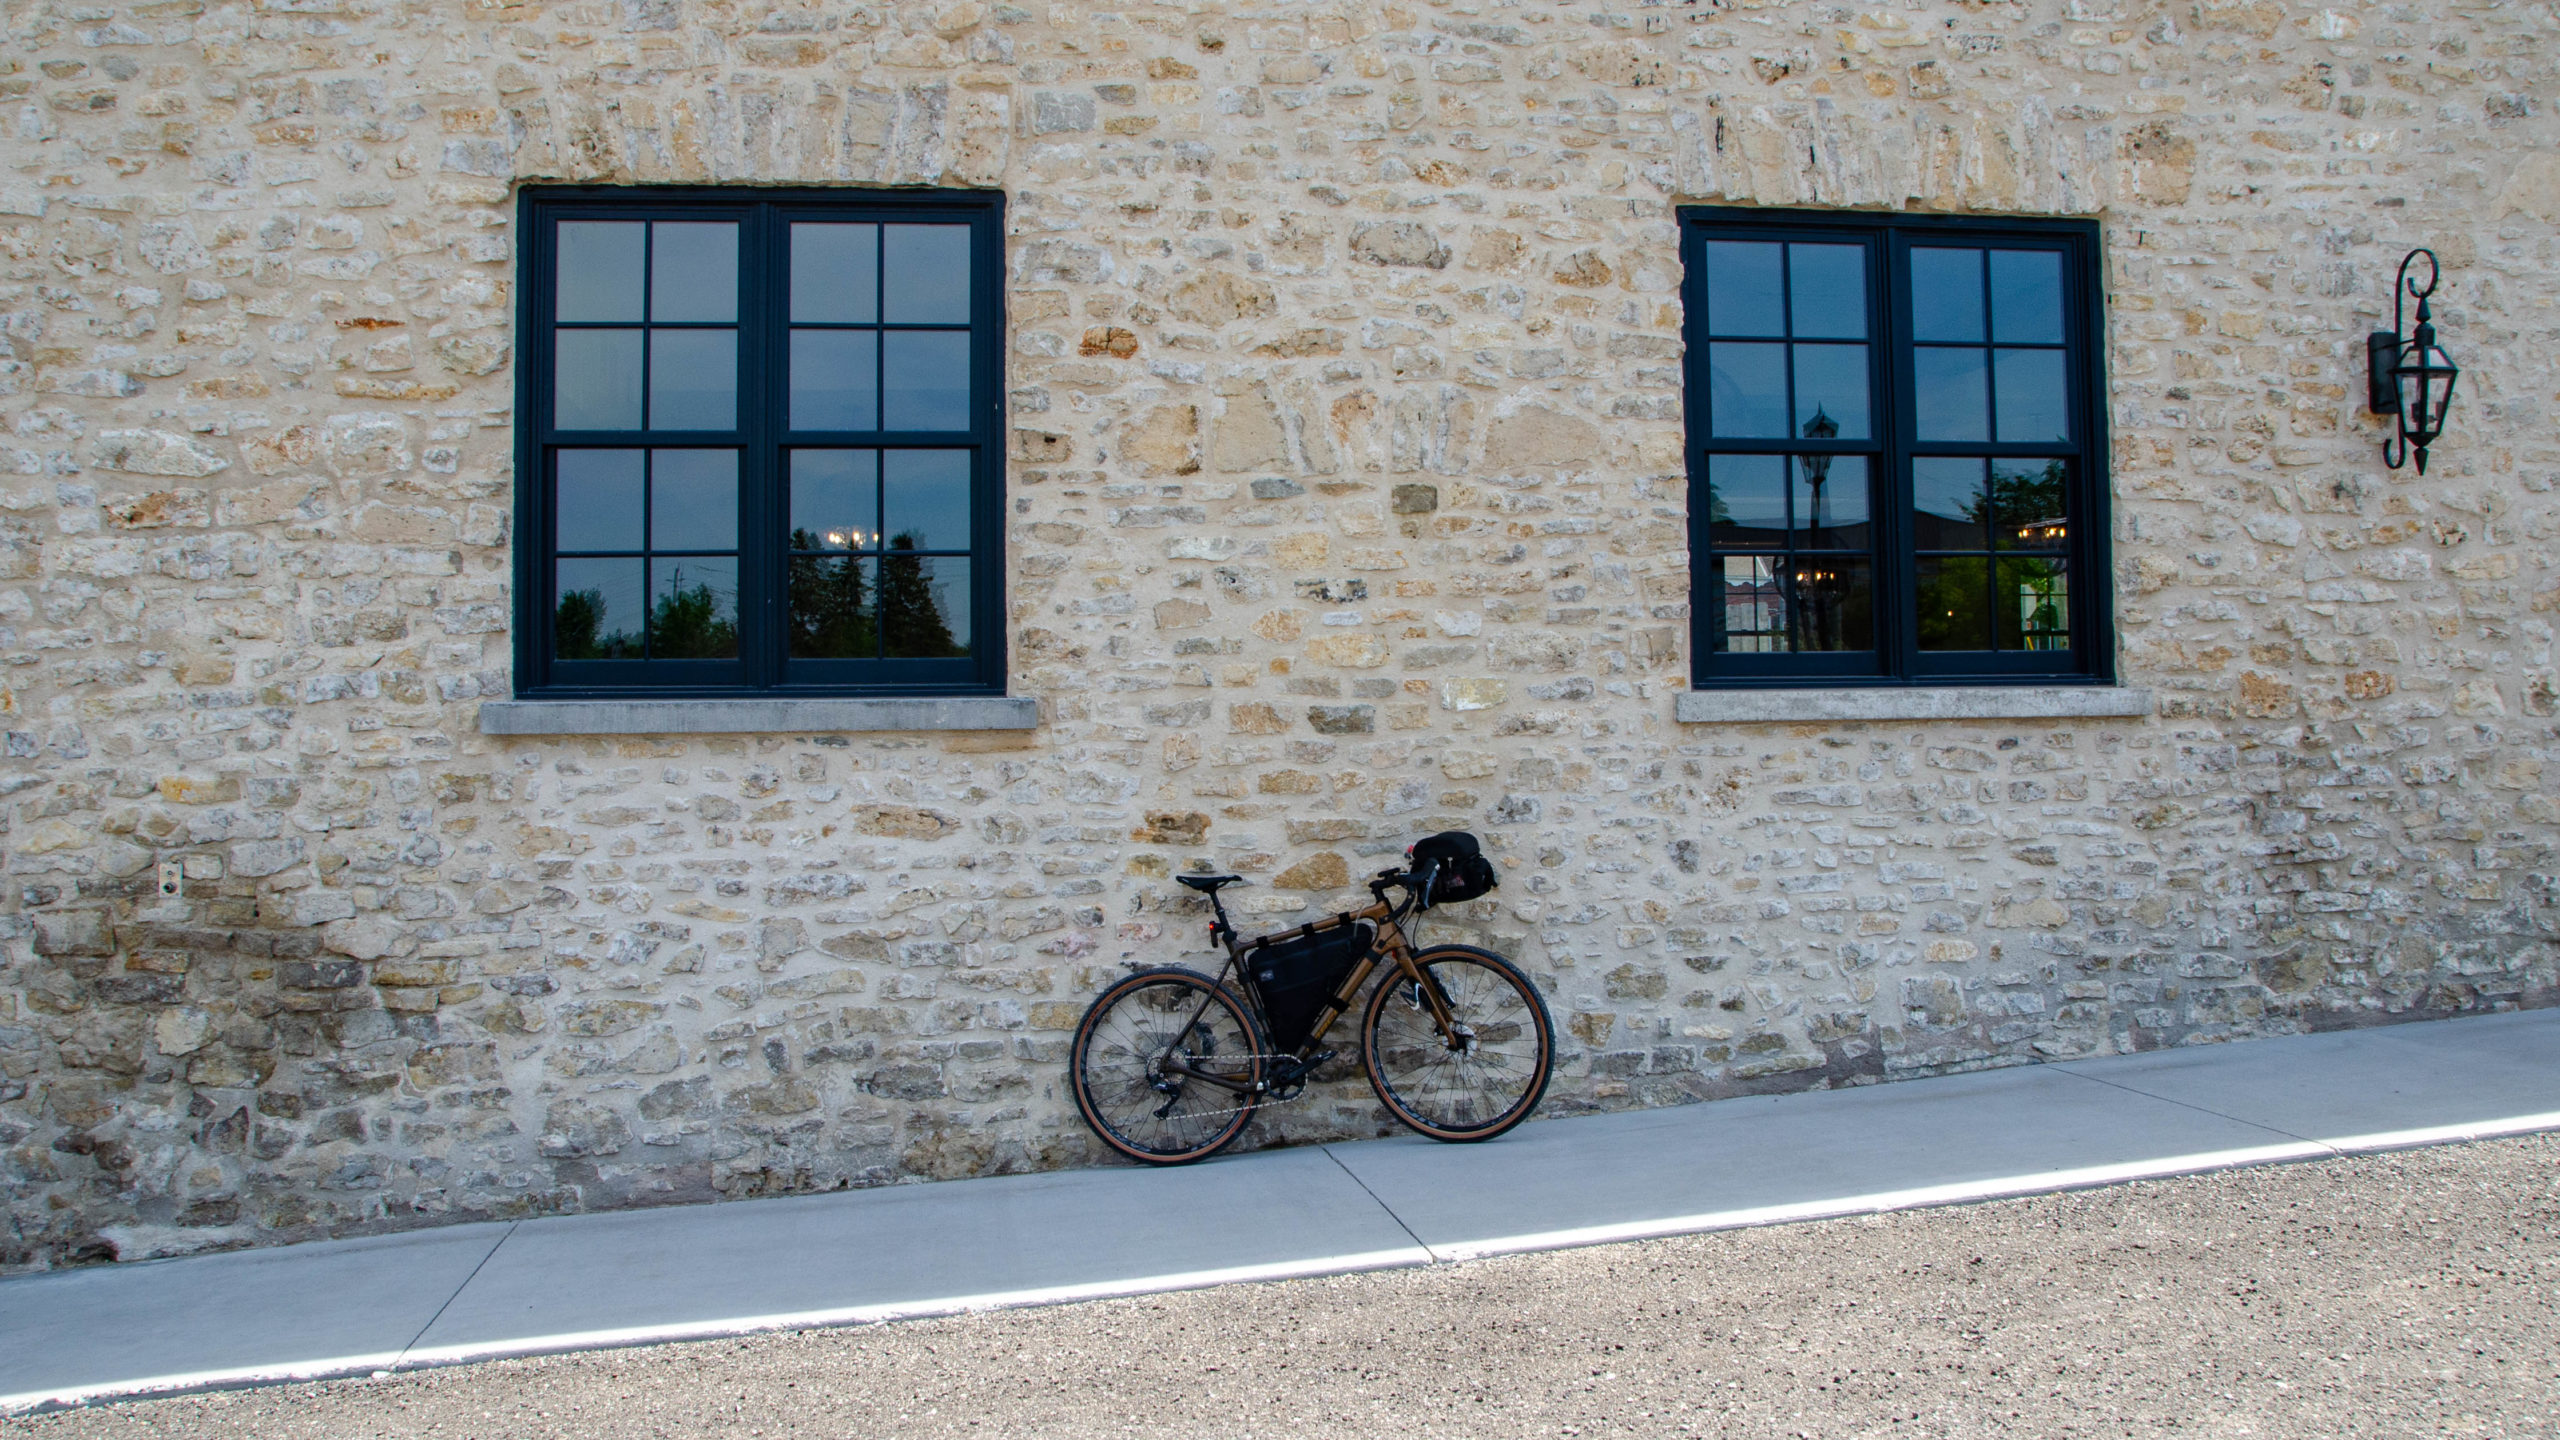
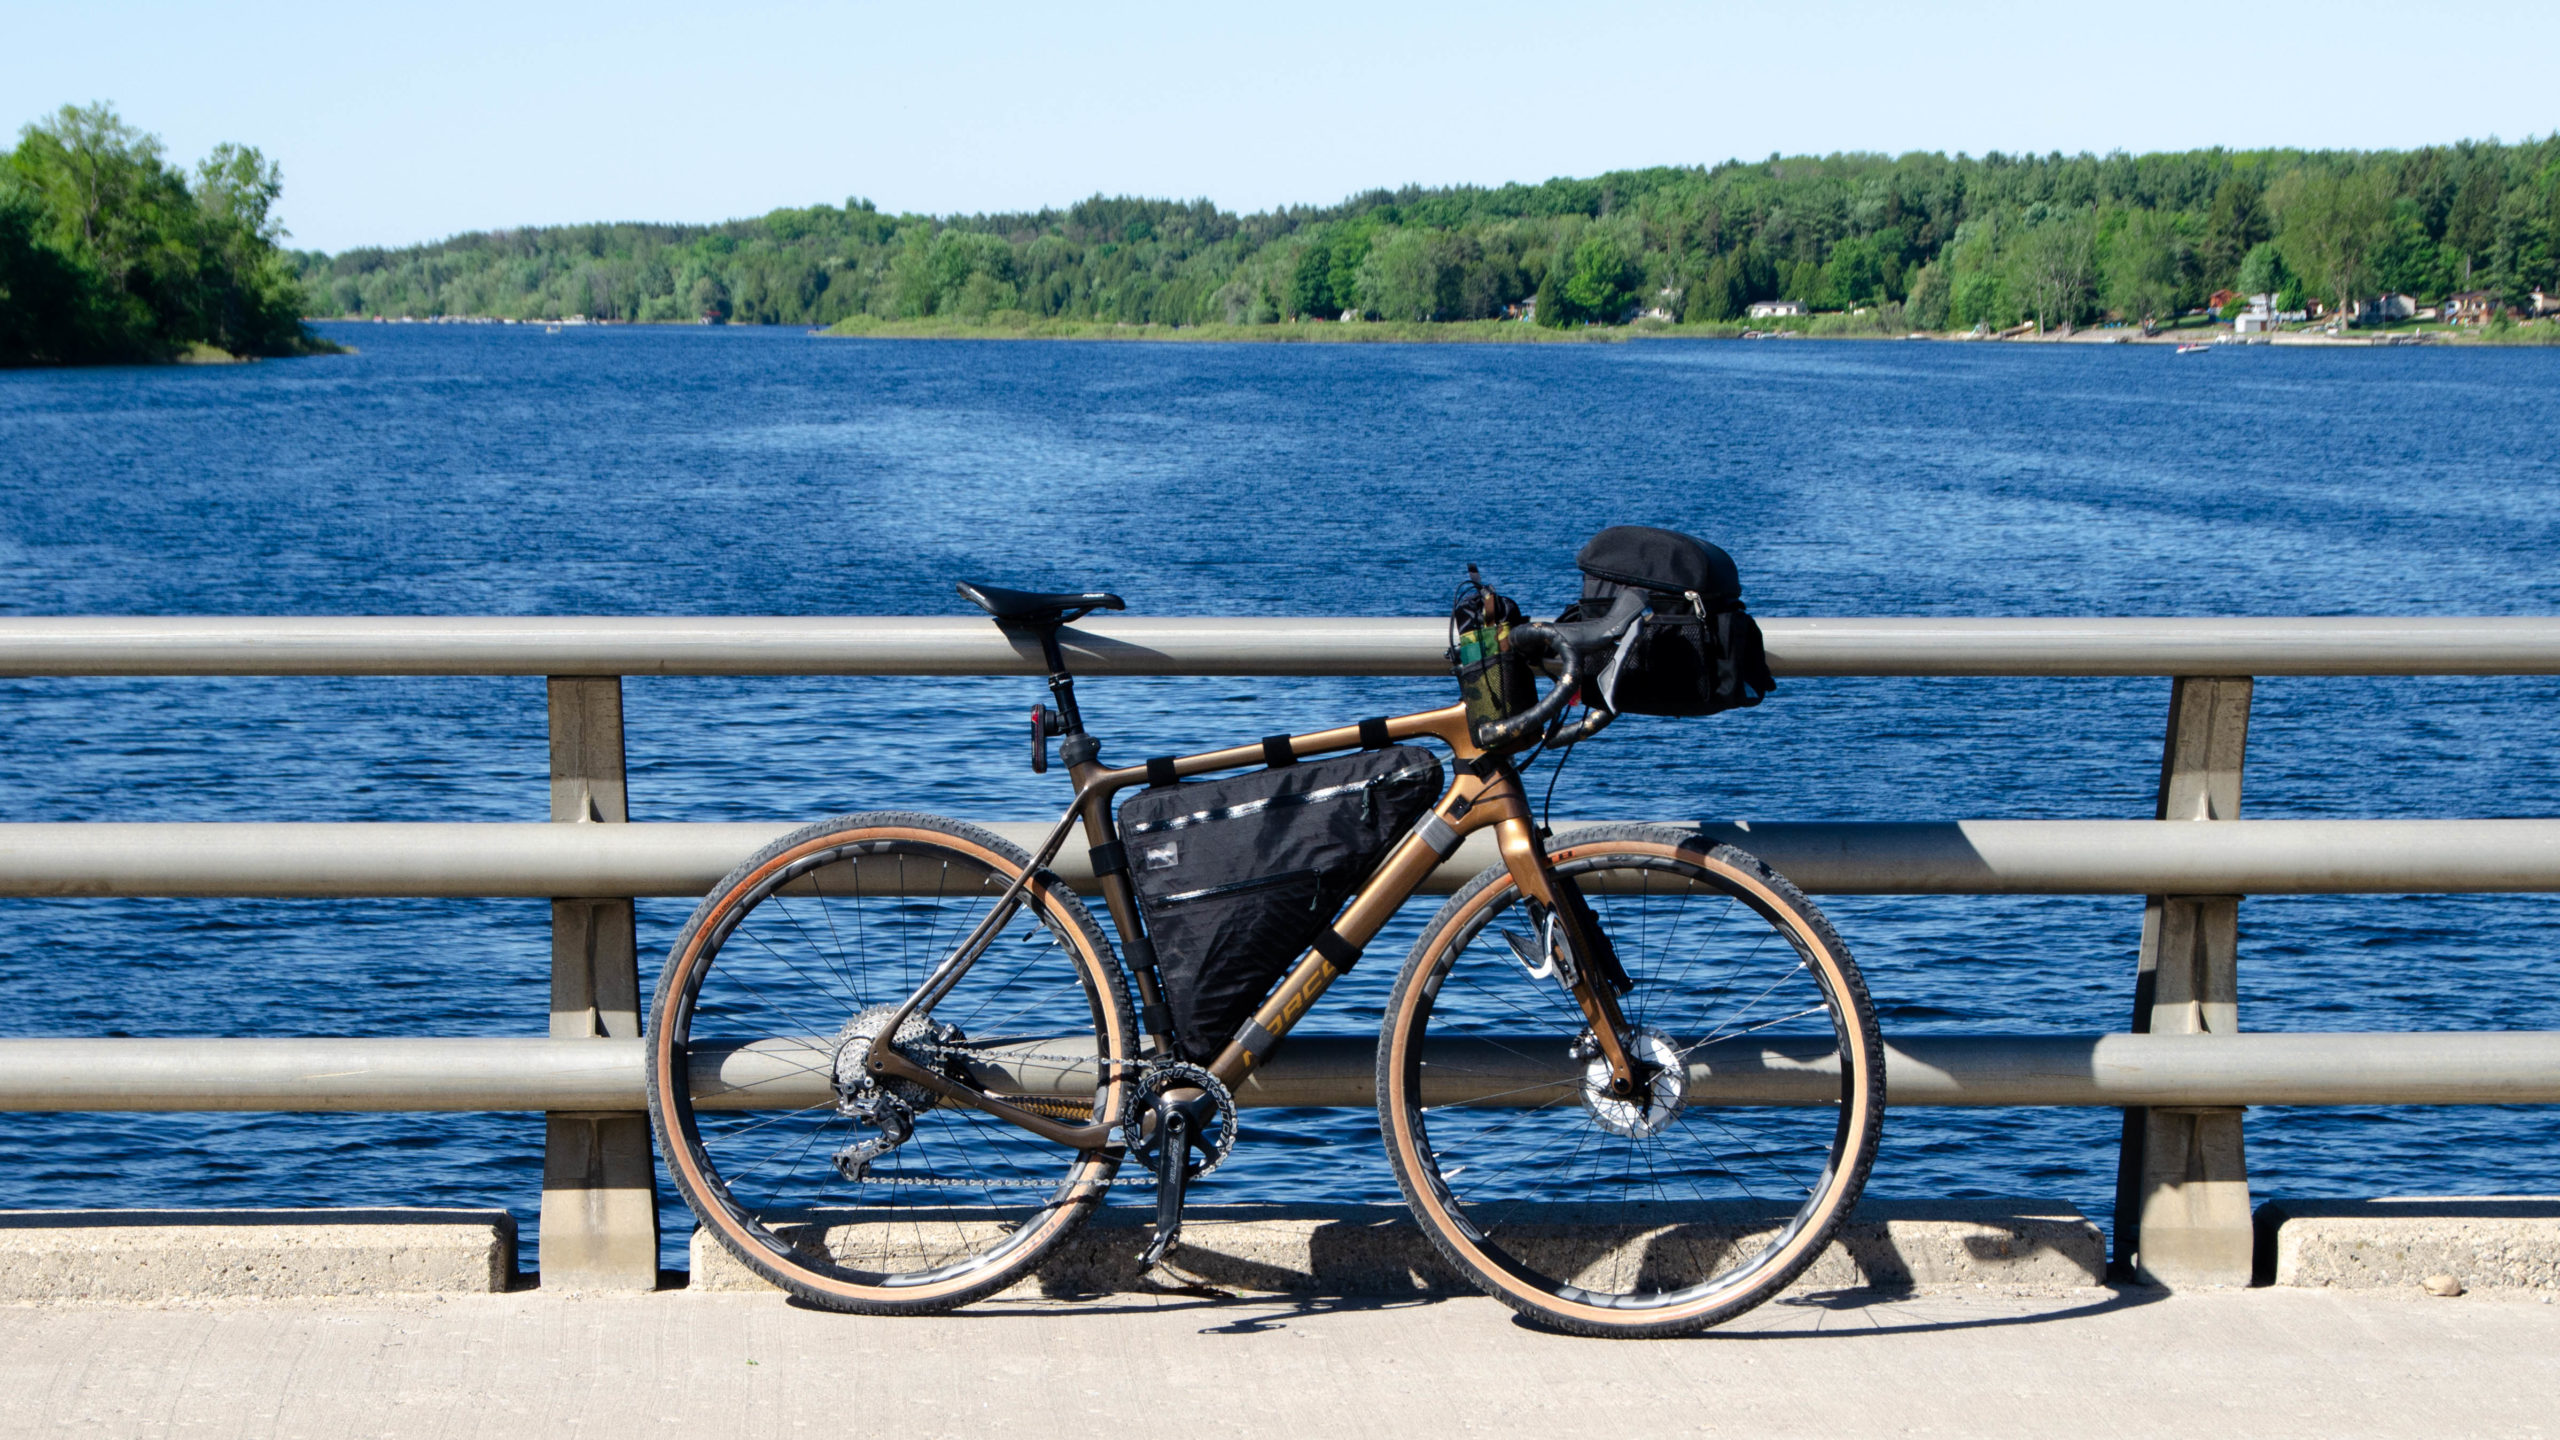
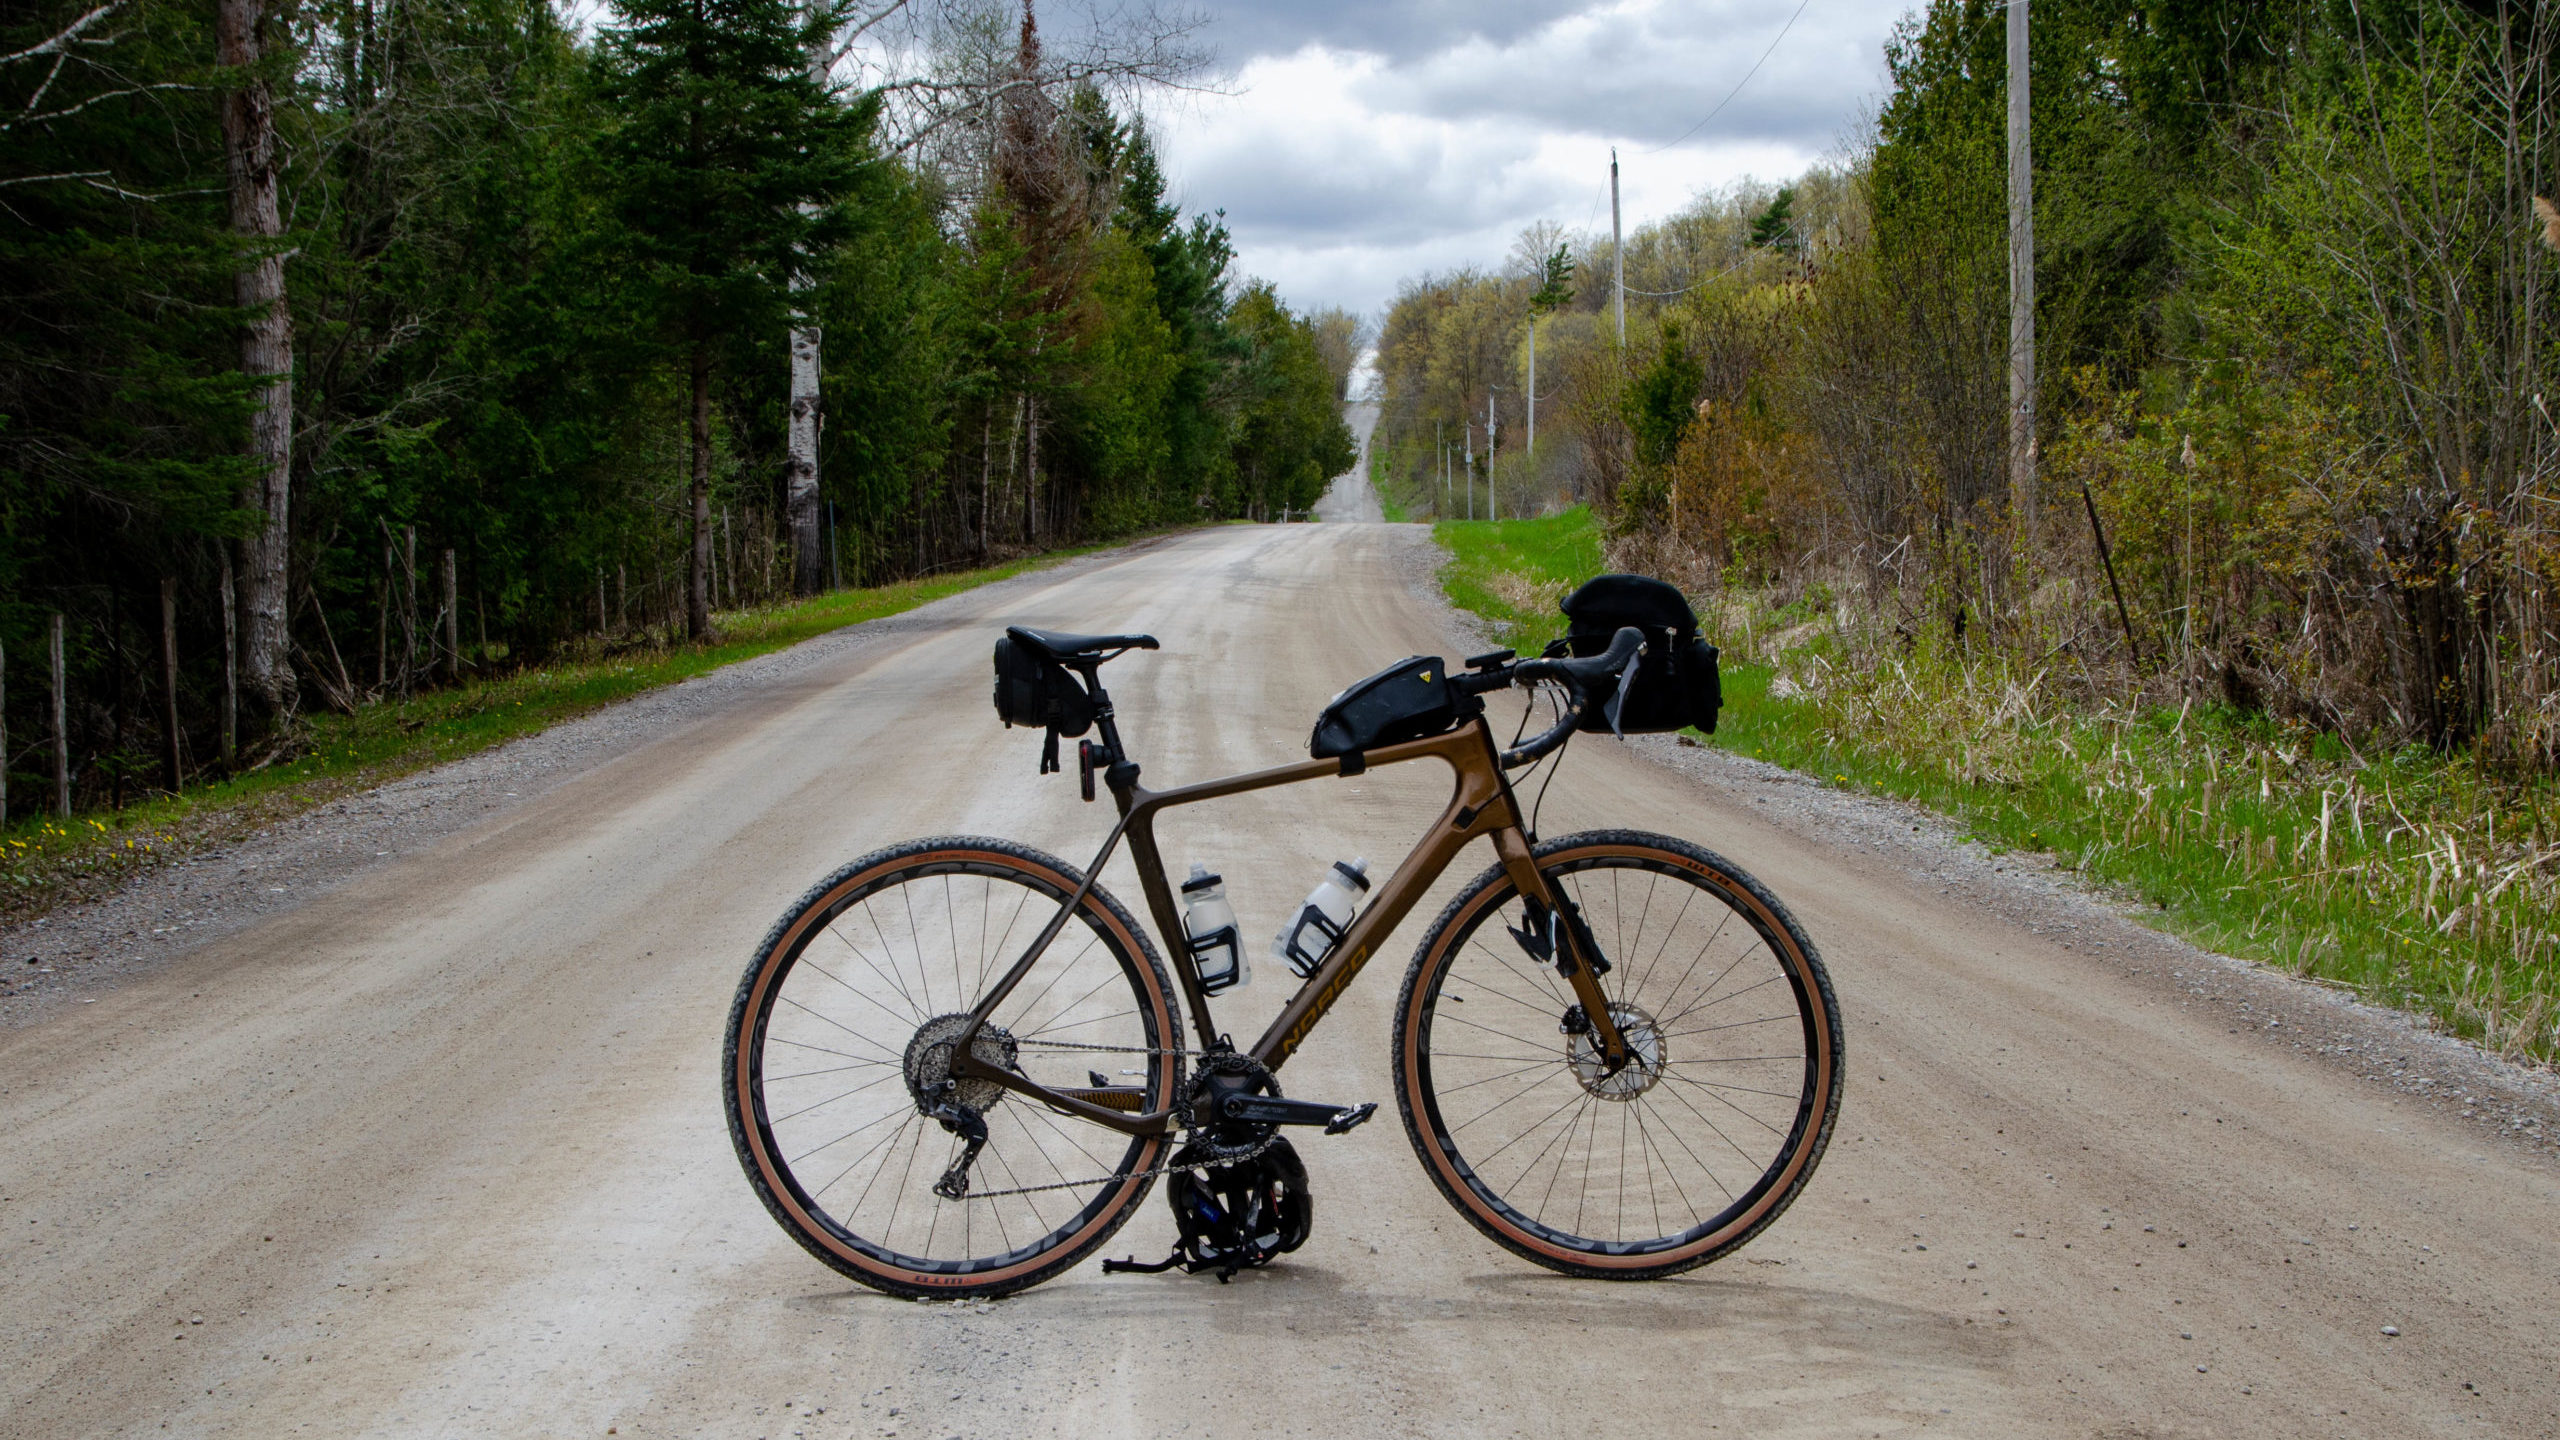
Photos Gallery of the Arkel Front Handlebar Bag in Action
Shot while Exploring Gravel – West Montrose Covered Bridge to Elora.
Shot while, Exploring Gravel – Hillsburgh to the Luther Marsh.
Shot while riding the Tour of Scugog – A Route in Progress.
Final Thoughts
Arkel was great to order from. Their customer service was responsive and awesome. The bag itself is of great quality. It holds my camera well on all but the roughest terrain and easily moves between bags with the purchase of additional mounting hardware.
I also feel like this will be great when bikepacking, where I can easily throw my valuables, bike computers, phone, wallet, etc… inside when having to leave my bike unattended for a bit.
If you have any questions I’ll be happy to help.
Thanks for reading,
Cory